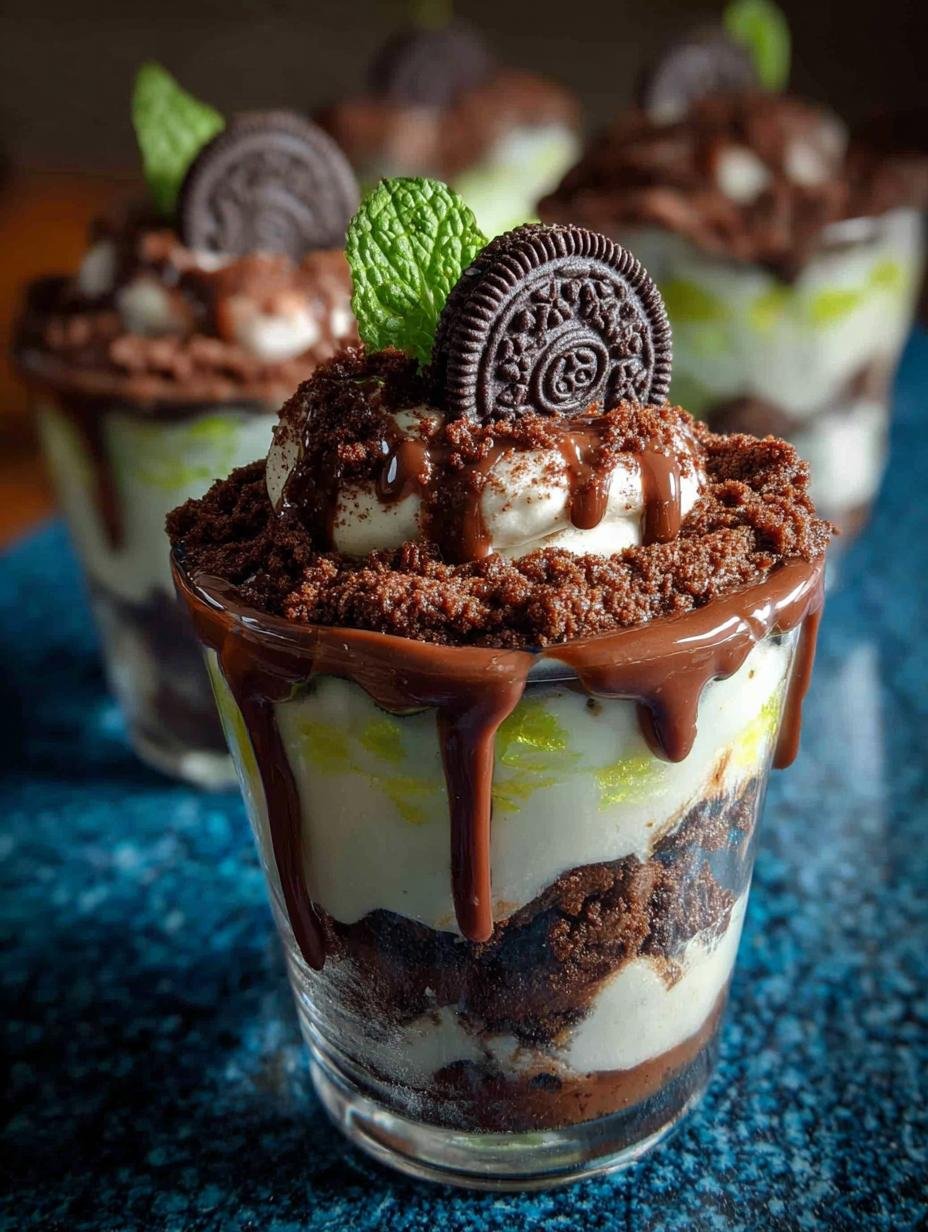
Zombie Pudding Cups are the ultimate Halloween treat that will have both kids and adults shrieking with delight! These spooky and colorful dessert cups are layered with rich chocolate pudding, creamy vanilla pudding, crushed Oreos, vibrant green whipped cream, and creepy gummy worms. They are perfect for Halloween parties, a fun family dessert, or just a whimsical treat to enjoy while watching scary movies. Easy to prepare and utterly delicious, they’re sure to be a hit at any gathering!
Why You’ll Love This Zombie Pudding Cups
These Zombie Pudding Cups offer a delightful combination of flavors and textures that everyone will love. Here are a few reasons why this dessert is a must-try:
- Quick and easy to make, taking just 10 minutes!
- Perfect for kids Halloween dessert recipes.
- Visually fun with spooky layers that excite the imagination.
- A great opportunity for kids to help decorate their own cups.
- Versatile and can be customized with different toppings.
- Great for Halloween parties or as ghoulish pudding cups for any spooky occasion.
These cups are not just tasty but also fit into a vegetarian diet, making them a crowd favorite for all ages!
Ingredients for Zombie Pudding Cups
Gather these items:
- 1 cup chocolate pudding
- 1 cup vanilla pudding
- 1 cup crushed Oreo cookies
- 1 cup gummy worms
- 1 cup green whipped cream
- 4 plastic cups
How to Make Zombie Pudding Cups Step-by-Step
- Step 1: Prepare chocolate pudding according to package instructions.
- Step 2: Prepare vanilla pudding according to package instructions.
- Step 3: Layer chocolate pudding at the bottom of each plastic cup.
- Step 4: Add a layer of crushed Oreo cookies on top of the chocolate pudding.
- Step 5: Add vanilla pudding as the next layer.
- Step 6: Top with green whipped cream.
- Step 7: Decorate with gummy worms hanging over the side.
Follow these steps to create delicious and spooky Halloween themed pudding cups. Each layer adds to the fun and creepiness of this easy zombie cup dessert!

Pro Tips for the Best Zombie Pudding Cups
Keep these in mind:
- Use instant pudding for a quick prep time, making these no-bake zombie dessert cups a breeze.
- For an added crunch, consider layering in some crushed candy bars or nuts along with the Oreos.
- Make sure to chill the cups for a bit before serving to enhance the flavor.
Best Ways to Serve Zombie Pudding Cups
These spooky pudding treats can be served in a variety of ways:
- Set them up as a dessert bar where guests can add their own gummy worms and toppings.
- Pair with themed party snacks for a complete Halloween experience.
- Serve alongside other Halloween treats for kids for a fun festive spread.
How to Store and Reheat Zombie Pudding Cups
These delicious cups are best enjoyed fresh but can be stored in the refrigerator for up to 2 days. Just cover them with plastic wrap to prevent the whipped cream from drying out. Unfortunately, reheating is not recommended as it may alter the texture of the pudding layers. Meal prep these cups ahead of time for your Halloween party to save time!
Frequently Asked Questions About Zombie Pudding Cups
What’s the secret to perfect Zombie Pudding Cups?
The secret lies in the layering technique! Start with a solid base of chocolate pudding, then create contrasting layers with crushed Oreos and vanilla pudding. Top it off with vibrant green whipped cream for an eye-catching effect!
Can I make Zombie Pudding Cups ahead of time?
Absolutely! You can prepare the layers in advance and assemble them just before serving. They will stay fresh in the fridge for up to two days, making them a perfect make-ahead dessert for your Halloween festivities.
How do I avoid common mistakes with Zombie Pudding Cups?
To avoid common pitfalls, ensure that your pudding is well mixed and not lumpy. Use fresh whipped cream to get the best flavor and texture. Layering carefully will also help ensure that each layer stays intact without mixing together.
Variations of Zombie Pudding Cups You Can Try
Mix things up with these fun variations:
- Substitute chocolate pudding with butterscotch for a different flavor profile.
- Add colored sprinkles to the green whipped cream for an extra festive touch.
- Incorporate different types of candy, like gummy eyeballs or chocolate spiders!
These unique Halloween dessert ideas will keep your ghoulish pudding cups fresh and exciting!

For more fun Halloween ideas, check out our About Me page or Contact Us for any questions!
Also, be sure to read our Privacy Policy and Disclaimer for more information.
Print5 Spooktacular Zombie Pudding Cups for Halloween Parties

These spooky Zombie Pudding Cups are a fun and easy Halloween dessert layered with chocolate and vanilla pudding, crushed Oreos, green whipped cream, and creepy gummy worms. Perfect for parties or kids’ treats!
- Prep Time: 5 minutes
- Cook Time: 5 minutes
- Total Time: 10 minutes
- Yield: 4 servings 1x
- Category: Dessert
- Method: No-bake
- Cuisine: American
- Diet: Vegetarian
Ingredients
- 1 cup chocolate pudding
- 1 cup vanilla pudding
- 1 cup crushed Oreo cookies
- 1 cup gummy worms
- 1 cup green whipped cream
- 4 plastic cups
Instructions
- Prepare chocolate pudding according to package instructions.
- Prepare vanilla pudding according to package instructions.
- Layer chocolate pudding at the bottom of each plastic cup.
- Add a layer of crushed Oreo cookies on top of the chocolate pudding.
- Add vanilla pudding as the next layer.
- Top with green whipped cream.
- Decorate with gummy worms hanging over the side.
Notes
Nutrition
- Serving Size: 1 cup
- Calories: 320
- Sugar: 22 g
- Sodium: 180 mg
- Fat: 14 g
- Saturated Fat: 6 g
- Unsaturated Fat: 8 g
- Trans Fat: 0 g
- Carbohydrates: 45 g
- Fiber: 1 g
- Protein: 4 g
- Cholesterol: 10 mg


Leave a Reply