
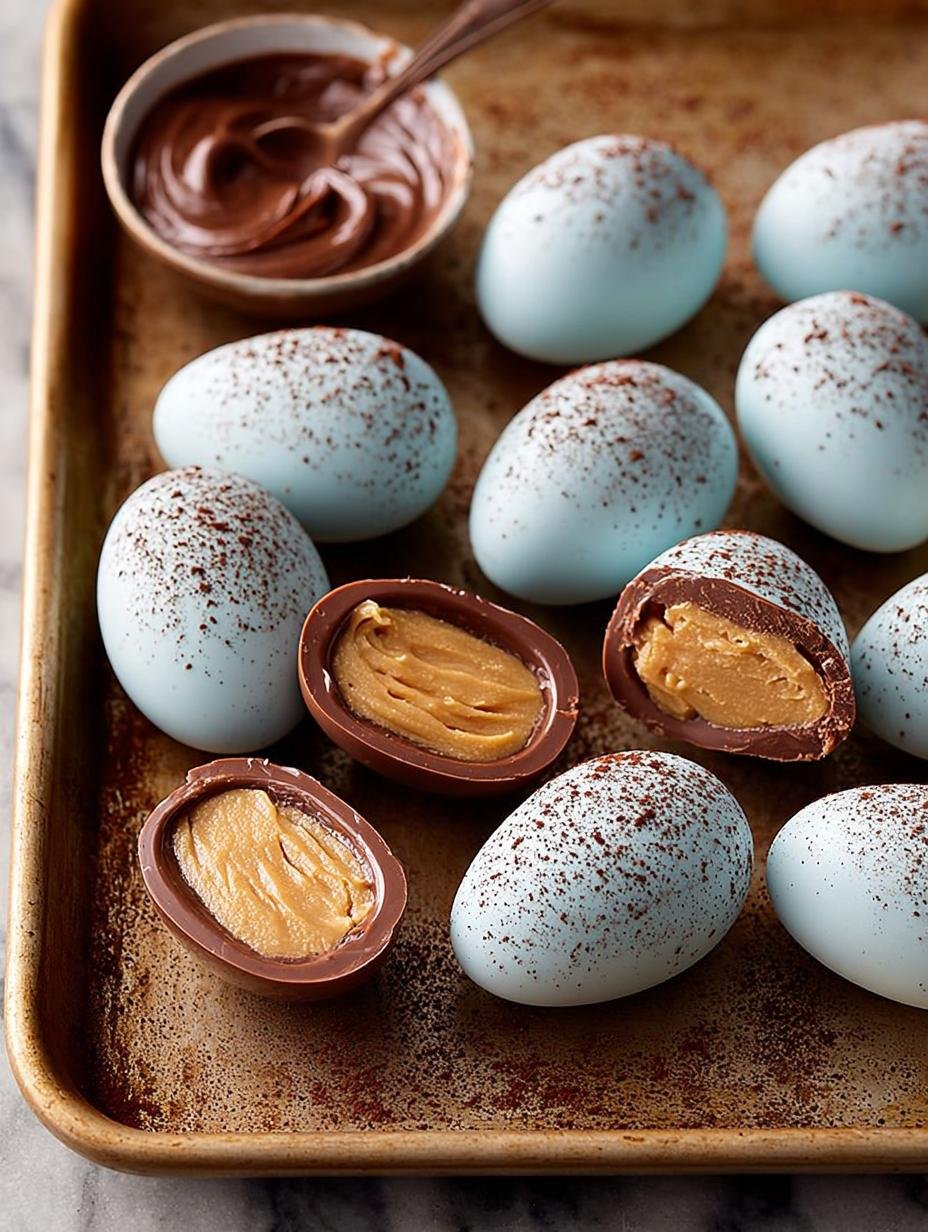
Peanut Butter Easter Eggs are a delightful homemade treat combining creamy natural peanut butter filling with a smooth, colorful white chocolate coating. These no-bake eggs are not only a joy to make but also a joy to eat, making them a perfect addition to your Easter celebrations. With their vibrant colors and sweet flavors, they’ll surely impress family and friends. Let’s dive into this tasty recipe!
Why You’ll Love This Peanut Butter Easter Eggs
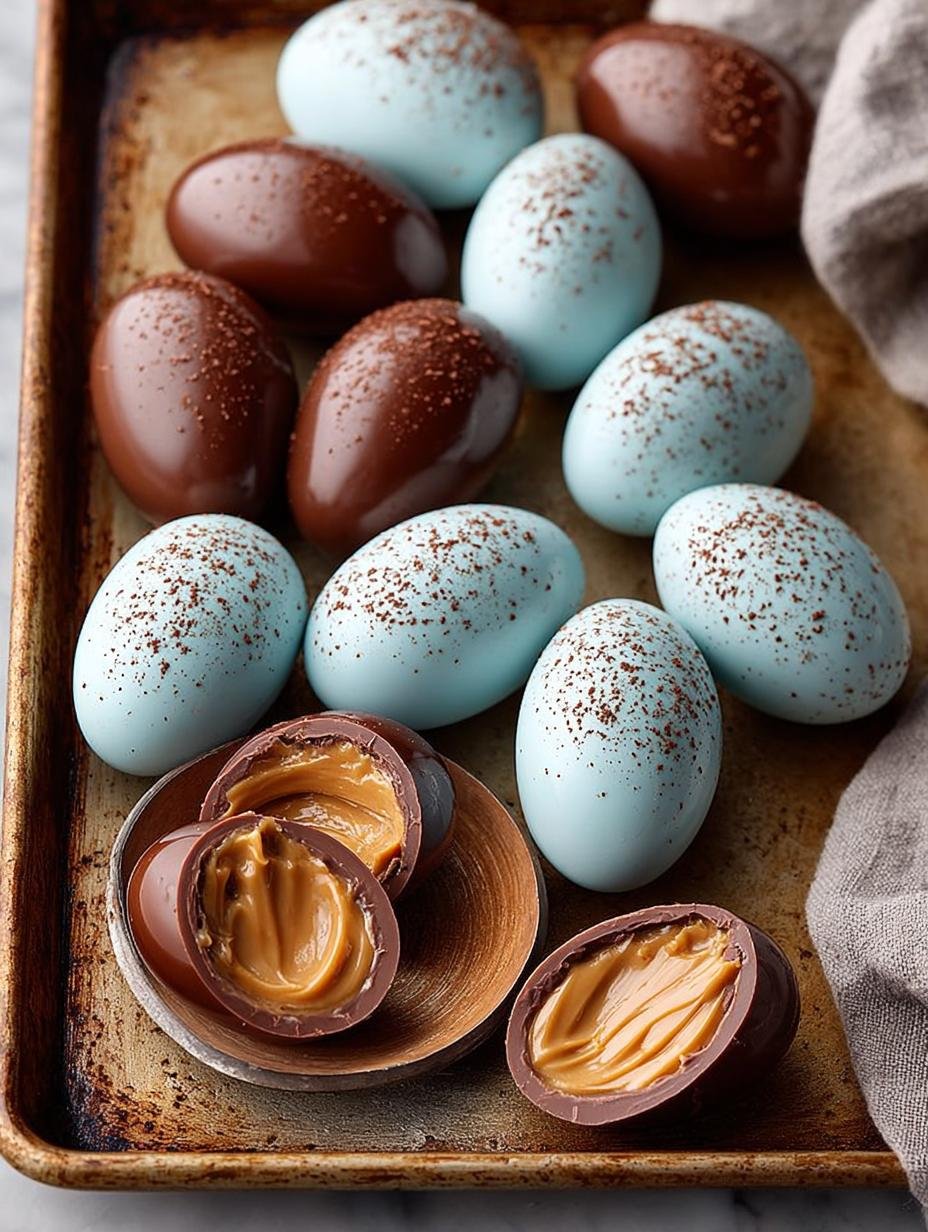
This recipe is a crowd-pleaser for several reasons. Firstly, it combines the rich taste of creamy peanut butter with sweet white chocolate, creating a perfect balance of flavors. Secondly, these homemade peanut butter Easter eggs are easy to make and require no baking, making them an accessible treat for any skill level. Additionally, they can be customized with different colors and decorations, making them perfect for Easter chocolate peanut butter treats. As a bonus, they fit a vegetarian diet, and with a simple substitution, you can also make vegan peanut butter Easter eggs. Perfect for sharing, they’re great for parties or as a sweet gift for loved ones!
Ingredients for Peanut Butter Easter Eggs
Gather these items:
- 1 1/4 cups natural, runny peanut butter (no sugar added)
- 1/4 cup maple syrup
- 1/4 cup powdered sugar
- 1/3 cup almond flour
- 1/2 teaspoon vanilla extract
- Pinch of salt
- 8 ounces white chocolate melting wafers (Ghirardelli brand recommended)
- 2 teaspoons coconut oil
- 1/2 teaspoon blue spirulina powder
- 1/4 teaspoon matcha powder (or use a 2:1 ratio of any blue and green food dye)
- 1 teaspoon cocoa powder
- 1 tablespoon water
How to Make Peanut Butter Easter Eggs Step-by-Step
- Step 1: In a mixing bowl, beat together the natural peanut butter, maple syrup, powdered sugar, almond flour, vanilla extract, and a pinch of salt until the mixture is smooth and well combined.
- Step 2: Portion the peanut butter mixture into 2-tablespoon-sized portions. Using your hands, roll each portion into a ball, then gently shape it into an oval or egg shape.
- Step 3: Place the shaped peanut butter eggs on a parchment paper-lined baking sheet and freeze them while you prepare the white chocolate coating to help them firm up.
- Step 4: In a small bowl, whisk together the cocoa powder and water until smooth. Set aside for later use in decorating the eggs.
- Step 5: Combine the white chocolate melting wafers and coconut oil in a microwave-safe bowl. Microwave in 15-20 second intervals, stirring well between each, until fully melted and smooth. Stir in the blue spirulina and matcha powders to achieve the desired pastel egg colors. Adjust with food coloring if needed. Pour the melted chocolate into a short drinking glass or similar container for easy dipping.
- Step 6: With the peanut butter eggs still semi-frozen, insert a toothpick into the bottom of each egg for dipping. Dip each egg into the colored white chocolate, letting excess drip off. Allow the coating to mostly harden before removing the toothpick to avoid cracking. Place the coated eggs back onto the parchment paper immediately after toothpick removal.
- Step 7: Dip a pastry brush into the cocoa powder and water mixture. Hold the brush about 8 inches above the eggs and flick the bristles lightly to create speckles on the chocolate coating. This adds a fun, colorful splash effect.
- Step 8: Refrigerate the decorated eggs for approximately 10 minutes or until the chocolate coating is completely dried and hardened, then serve or store appropriately.
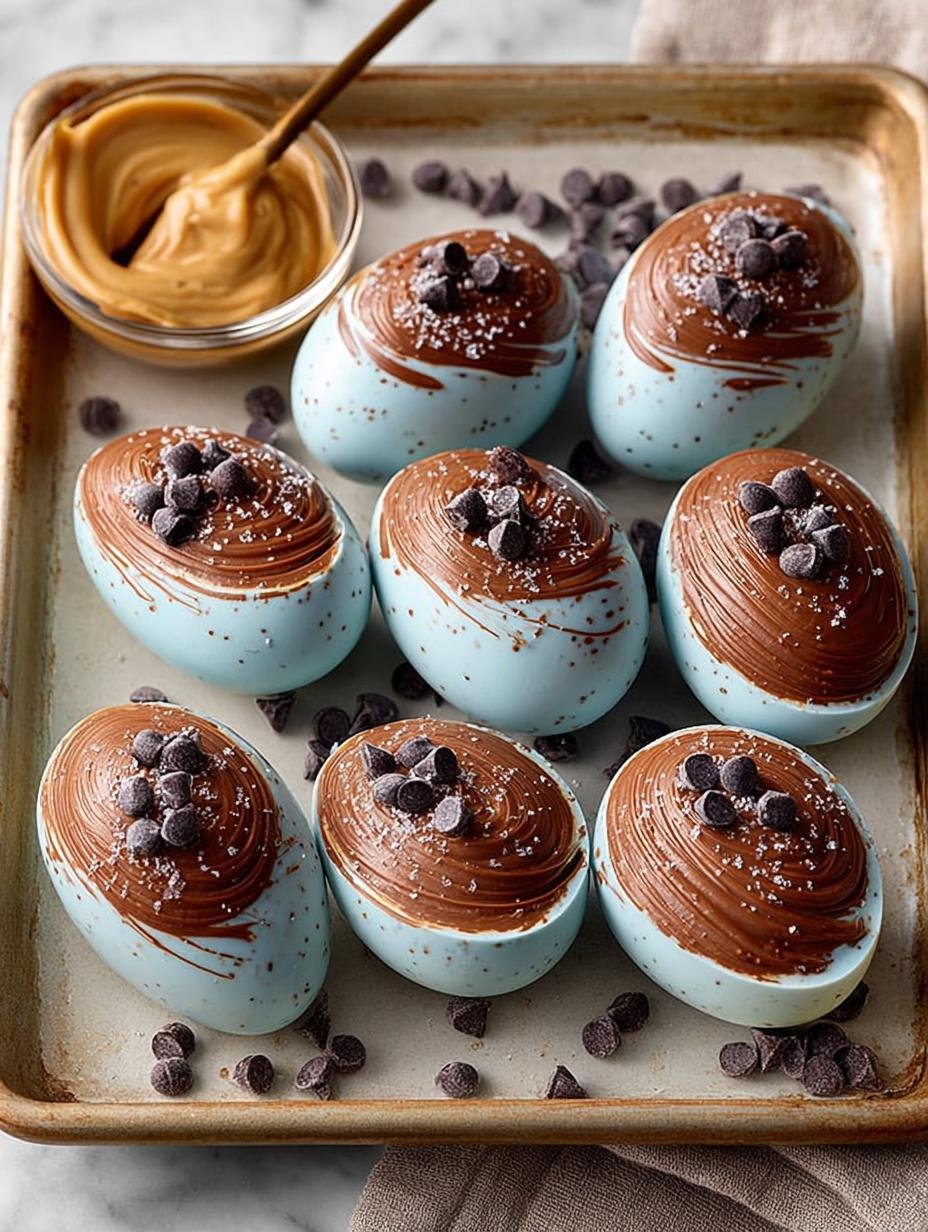
Pro Tips for the Perfect Peanut Butter Easter Eggs
Keep these in mind:
- These no-bake eggs are perfect for Easter celebrations or any festive occasion.
- The vibrant blue and green coloring with decorative cocoa speckles adds charm.
- For a gluten-free version, ensure all ingredients, especially the chocolate, are gluten-free.
- Try using different kinds of chocolate for a variety of flavors, such as milk or dark chocolate.
Best Ways to Serve Peanut Butter Easter Eggs
Here are a few suggestions:
- Serve these as part of an Easter dessert table alongside other peanut butter egg candies.
- Pair them with fresh fruit or nuts for a delightful contrast of flavors.
- Gift them in colorful boxes or bags for a sweet surprise during the Easter festivities.
How to Store and Reheat Peanut Butter Easter Eggs
To keep your peanut butter eggs fresh, store them in an airtight container in the refrigerator for up to a week. If you would like to prepare them ahead of time for Easter, they can also be frozen. Just make sure to separate layers with parchment paper to prevent sticking.
Frequently Asked Questions About Peanut Butter Easter Eggs
What are peanut butter Easter eggs?
Peanut butter Easter eggs are homemade treats filled with creamy peanut butter and coated in chocolate, often enjoyed during the Easter season. They can be made in various flavors and styles, such as chocolate peanut butter eggs.
Why are peanut butter eggs popular at Easter?
These treats symbolize the holiday’s spirit of sharing and joy. Their sweet taste and festive appearance make them an ideal addition to Easter celebrations and egg hunts.
Can I make peanut butter Easter eggs ahead of time?
Yes, you can prepare these eggs in advance! They store well in the refrigerator or freezer, making them a convenient treat for your Easter festivities.
Variations of Peanut Butter Easter Eggs You Can Try
Here are a few variations to consider:
- Try using different nut butters like almond or cashew for a unique twist.
- Make mini peanut butter Easter egg bites using smaller portions of the filling.
- Experiment with dark or vegan chocolate for those with dietary restrictions.
For more information about making delicious treats, visit our About Me page. If you have any questions, feel free to contact us. Don’t forget to check our Privacy Policy for more details. You can also read our Disclaimer for important information. Lastly, learn more about our author for insights into our recipes.
PrintDelicious Peanut Butter Easter Eggs for Your Celebration
These Peanut Butter Easter Eggs are a delightful homemade treat combining creamy natural peanut butter filling with a smooth, colorful white chocolate coating.
- Prep Time: 15 minutes
- Cook Time: 10 minutes
- Total Time: 25 minutes
- Yield: 12 eggs 1x
- Category: Dessert
- Method: No-bake
- Cuisine: American
- Diet: Vegetarian
Ingredients
- 1 1/4 cups natural, runny peanut butter (no sugar added)
- 1/4 cup maple syrup
- 1/4 cup powdered sugar
- 1/3 cup almond flour
- 1/2 teaspoon vanilla extract
- Pinch of salt
- 8 ounces white chocolate melting wafers (Ghirardelli brand recommended)
- 2 teaspoons coconut oil
- 1/2 teaspoon blue spirulina powder
- 1/4 teaspoon matcha powder (or use a 2:1 ratio of any blue and green food dye)
- 1 teaspoon cocoa powder
- 1 tablespoon water
Instructions
- In a mixing bowl, beat together the natural peanut butter, maple syrup, powdered sugar, almond flour, vanilla extract, and a pinch of salt until the mixture is smooth and well combined.
- Portion the peanut butter mixture into 2-tablespoon-sized portions. Using your hands, roll each portion into a ball, then gently shape it into an oval or egg shape.
- Place the shaped peanut butter eggs on a parchment paper-lined baking sheet and freeze them while you prepare the white chocolate coating to help them firm up.
- In a small bowl, whisk together the cocoa powder and water until smooth. Set aside for later use in decorating the eggs.
- Combine the white chocolate melting wafers and coconut oil in a microwave-safe bowl. Microwave in 15-20 second intervals, stirring well between each, until fully melted and smooth. Stir in the blue spirulina and matcha powders to achieve the desired pastel egg colors. Adjust with food coloring if needed. Pour the melted chocolate into a short drinking glass or similar container for easy dipping.
- With the peanut butter eggs still semi-frozen, insert a toothpick into the bottom of each egg for dipping. Dip each egg into the colored white chocolate, letting excess drip off. Allow the coating to mostly harden before removing the toothpick to avoid cracking. Place the coated eggs back onto the parchment paper immediately after toothpick removal.
- Dip a pastry brush into the cocoa powder and water mixture. Hold the brush about 8 inches above the eggs and flick the bristles lightly to create speckles on the chocolate coating. This adds a fun, colorful splash effect.
- Refrigerate the decorated eggs for approximately 10 minutes or until the chocolate coating is completely dried and hardened, then serve or store appropriately.
Notes
- These no-bake eggs are perfect for Easter celebrations or any festive occasion.
- The vibrant blue and green coloring with decorative cocoa speckles adds charm.
Nutrition
- Serving Size: 1 egg
- Calories: 180
- Sugar: 6g
- Sodium: 50mg
- Fat: 12g
- Saturated Fat: 5g
- Unsaturated Fat: 7g
- Trans Fat: 0g
- Carbohydrates: 15g
- Fiber: 1g
- Protein: 4g
- Cholesterol: 0mg








Leave a Reply