
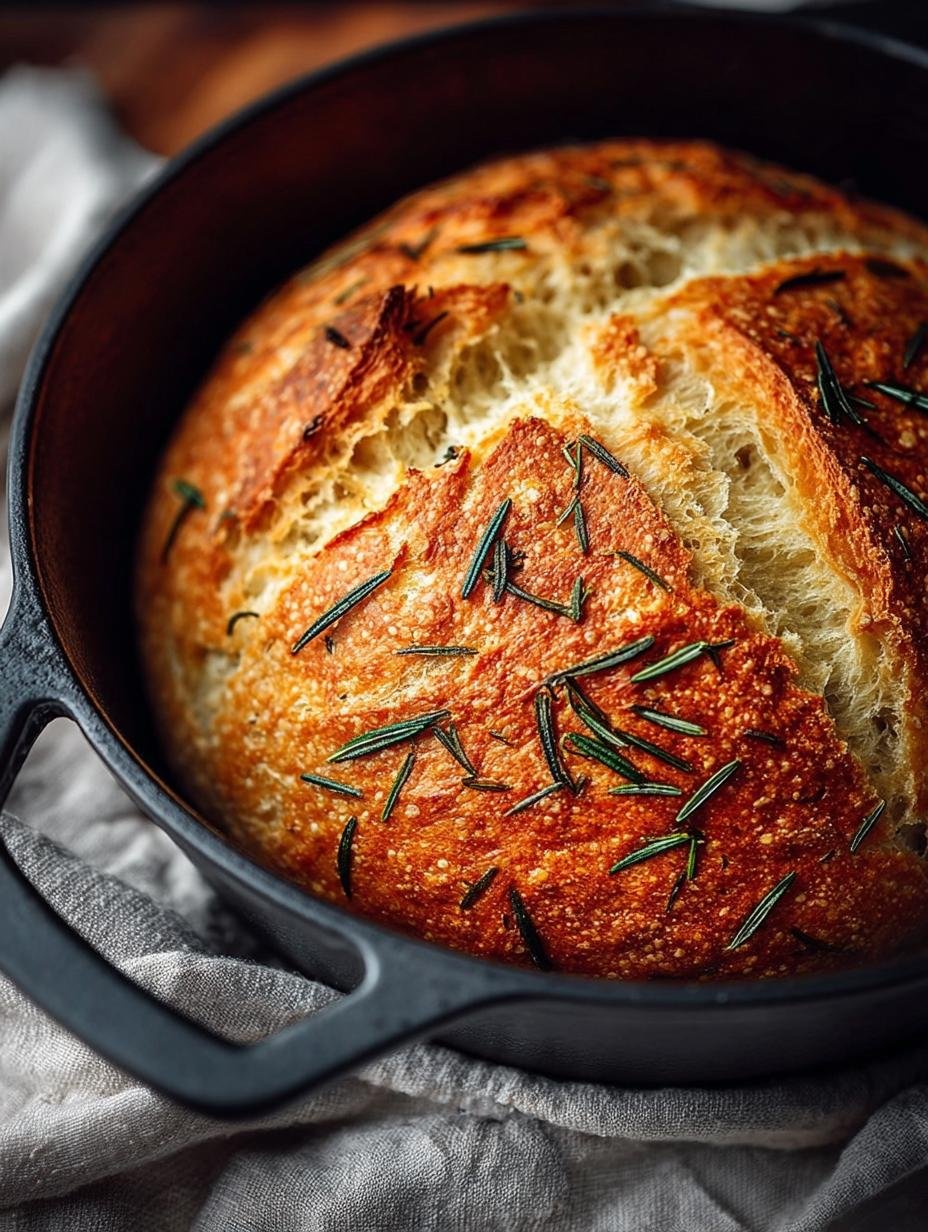
Knead Rosemary Dutch Oven bread is a delightful addition to any kitchen. This no-knead bread recipe allows you to create a delicious, crusty loaf infused with the aromatic flavor of fresh rosemary. The slow fermentation process not only enhances the flavor but also gives the bread a tender crumb. It’s perfect for serving at dinner or enjoying fresh with butter or olive oil. Let’s dive into how to make this amazing bread!
Why You’ll Love This Knead Rosemary Dutch Oven
This knead rosemary bread recipe is not just easy to make, but it also offers several benefits. First, it requires minimal effort thanks to the no-knead technique, making it perfect for busy schedules. Second, the use of fresh rosemary adds a fragrant herbal note that elevates the flavor profile. Third, baking in a Dutch oven ensures a crispy crust and a soft interior, which is essential for any great bread. Other advantages include:
- Slow fermentation enhances the bread’s flavor.
- It’s vegetarian-friendly, aligning with various dietary preferences.
- Perfect for impressing guests or enjoying at home.
- This recipe is versatile and can be adapted to include other herbs.
- The aroma while baking is simply irresistible.
With its rustic charm, this bread is bound to be the best rosemary bread in a Dutch oven.
Ingredients for Knead Rosemary Dutch Oven
Gather these items:
- 3 cups all-purpose flour (360g)
- 1¾ tsp sea salt (9g)
- ¾ cup fresh rosemary leaves, chopped (22g) or 2-4 tbsp dried rosemary
- ½ tsp active dry yeast (2g)
- 1½ cups water (341g), room temperature
How to Make Knead Rosemary Dutch Oven Step-by-Step
- Step 1: In a large bowl, combine the flour, sea salt, chopped rosemary, and active dry yeast. Add the room temperature water and use a spatula to thoroughly blend until the mixture forms a wet, sticky dough.
- Step 2: Cover the bowl tightly with plastic wrap or a damp clean dish towel and leave it on your kitchen counter to ferment overnight for at least 12 hours.
- Step 3: About 30 minutes before baking, place your Dutch oven with its lid inside your oven and preheat to 450°F (230°C).
- Step 4: Using oven mitts, carefully take the preheated Dutch oven from the oven and set it on a heat-safe surface. Remove the lid, but be cautious as it will be very hot.
- Step 5: Lightly flour a clean surface and your hands. Gently remove the risen dough from the bowl and fold it a couple of times to form a rough ball. Place the dough ball into the bottom of the hot Dutch oven.
- Step 6: Cover the Dutch oven with its lid and bake for 30 minutes. The lid traps steam to help develop a perfect crust during this initial phase.
- Step 7: Remove the lid and continue baking the bread for another 15-20 minutes until the crust turns golden brown and crispy on top.
- Step 8: The loaf should be deeply browned with a crisp crust. Tap the bottom of the bread gently; it should sound hollow. The internal temperature ideally falls between 195°F and 210°F (90-99°C).
- Step 9: Carefully remove the bread from the Dutch oven and place it on a wire rack to cool before slicing and serving. Cooling helps complete the baking process and avoids a gummy crumb.
Pro Tips for the Best Knead Rosemary Dutch Oven
Keep these in mind:
- The slow fermentation enhances flavor and gluten without kneading.
- Ensure the Dutch oven is preheated for a crispy crust.
- Cooling the bread prevents a gummy crumb.
- If you want to experiment, try adding garlic or other herbs for variation.
- Use a kitchen scale for precise measurements, especially for the flour.
Best Ways to Serve Knead Rosemary Dutch Oven
This delicious bread can be served in various ways. Here are some ideas:
- Pair it with olive oil and balsamic vinegar for dipping.
- Use it to make gourmet sandwiches.
- Serve alongside soups or stews for a hearty meal.
It’s especially delightful when enjoyed warm, straight from the oven.
Frequently Asked Questions About Knead Rosemary Dutch Oven
What’s the secret to perfect Knead Rosemary Dutch Oven?
The secret lies in the long fermentation time, which develops flavor and texture without the need for kneading. A hot Dutch oven also creates a crispy crust while keeping the inside moist and fluffy.
Can I make Knead Rosemary Dutch Oven ahead of time?
Absolutely! You can prepare the dough the night before and let it rise overnight. Just make sure to bake it the next day for the best texture and freshness.
How do I avoid common mistakes with Knead Rosemary Dutch Oven?
To avoid common mistakes, ensure your measurements are accurate, and allow the dough to rise properly. Avoid opening the oven door too frequently while baking to maintain consistent heat.
Variations of Knead Rosemary Dutch Oven You Can Try
There are many ways to customize this recipe:
- Incorporate chopped olives for a Mediterranean twist.
- Use different herbs like thyme or basil for variety.
- Add cheese like feta or parmesan to enhance flavor.
- For a sweeter version, consider adding honey or dried fruits.
Experimenting with these variations can lead to delightful results!
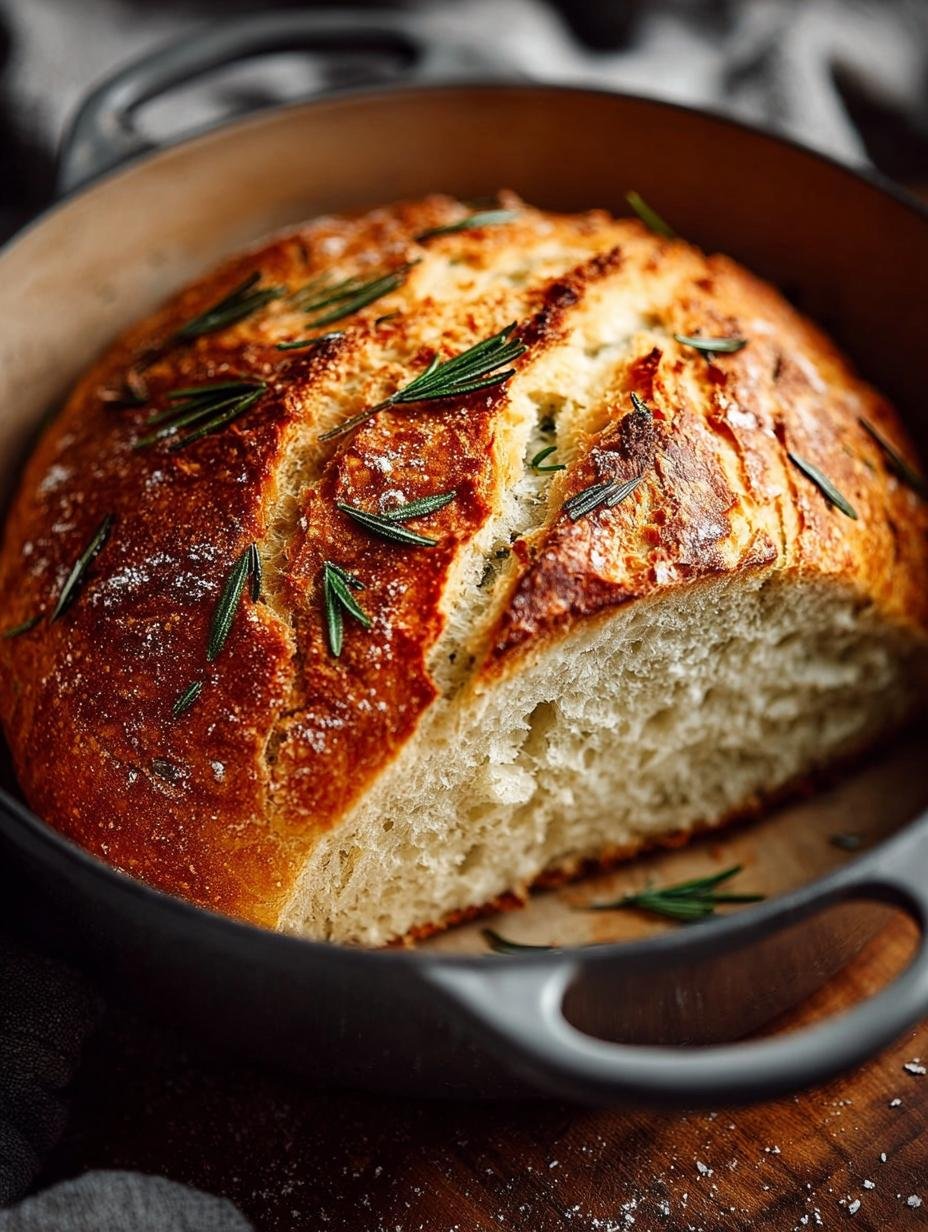
For more tips on baking bread, check out this bread baking guide.
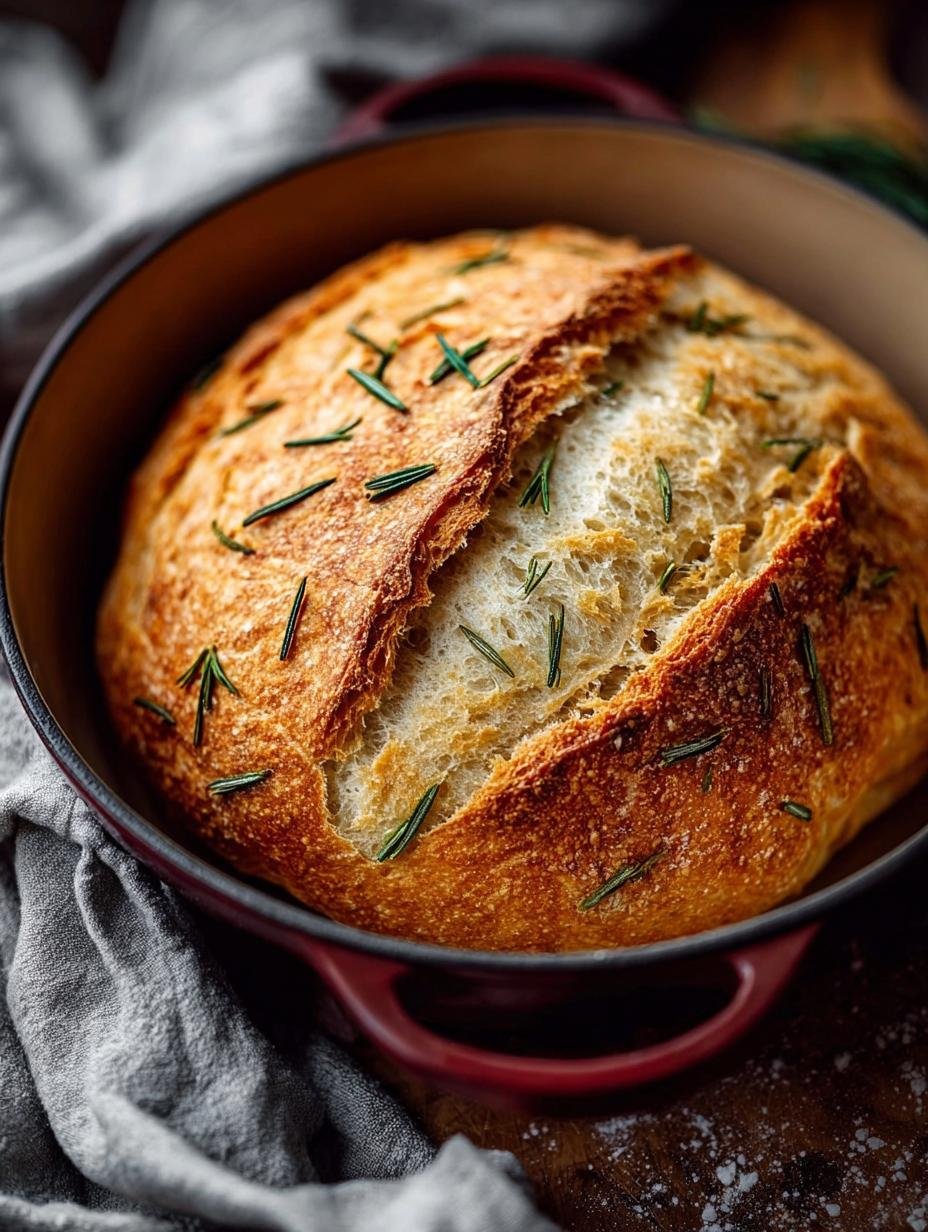
To learn more about the benefits of using a Dutch oven, visit this informative article.
For more about me and my cooking journey, visit my About Me page. If you have any questions, feel free to contact me. You can also check out my privacy policy and disclaimer for more information.
PrintKnead Rosemary Dutch Oven: 5 Steps to Artisan Bread

This No Knead Dutch Oven Bread recipe offers a simple and rustic way to bake a flavorful, crusty bread infused with fresh rosemary.
- Prep Time: 12 hours
- Cook Time: 45 minutes
- Total Time: 13 hours 5 minutes
- Yield: 1 loaf 1x
- Category: Bread
- Method: Baking
- Cuisine: American
- Diet: Vegetarian
Ingredients
- 3 cups all-purpose flour (360g)
- 1¾ tsp sea salt (9g)
- ¾ cup fresh rosemary leaves, chopped (22g) or 2-4 tbsp dried rosemary
- ½ tsp active dry yeast (2g)
- 1½ cups water (341g), room temperature
Instructions
- In a large bowl, combine the flour, sea salt, chopped rosemary, and active dry yeast. Add the room temperature water and use a spatula to thoroughly blend until the mixture forms a wet, sticky dough.
- Cover the bowl tightly with plastic wrap or a damp clean dish towel and leave it on your kitchen counter to ferment overnight for at least 12 hours.
- About 30 minutes before baking, place your Dutch oven with its lid inside your oven and preheat to 450°F (230°C).
- Using oven mitts, carefully take the preheated Dutch oven from the oven and set it on a heat-safe surface. Remove the lid.
- Lightly flour a clean surface and your hands. Gently remove the risen dough from the bowl and fold it a couple of times to form a rough ball. Place the dough ball into the bottom of the hot Dutch oven.
- Cover the Dutch oven with its lid and bake for 30 minutes.
- Remove the lid and continue baking the bread for another 15-20 minutes until the crust turns golden brown and crispy on top.
- The loaf should be deeply browned with a crisp crust. Tap the bottom of the bread gently; it should sound hollow.
- Carefully remove the bread from the Dutch oven and place it on a wire rack to cool before slicing and serving.
Notes
- The slow fermentation enhances flavor and gluten without kneading.
- Ensure the Dutch oven is preheated for a crispy crust.
- Cooling the bread prevents a gummy crumb.
Nutrition
- Serving Size: 1 slice
- Calories: 150
- Sugar: 0g
- Sodium: 200mg
- Fat: 1g
- Saturated Fat: 0g
- Unsaturated Fat: 1g
- Trans Fat: 0g
- Carbohydrates: 30g
- Fiber: 1g
- Protein: 4g
- Cholesterol: 0mg








Leave a Reply