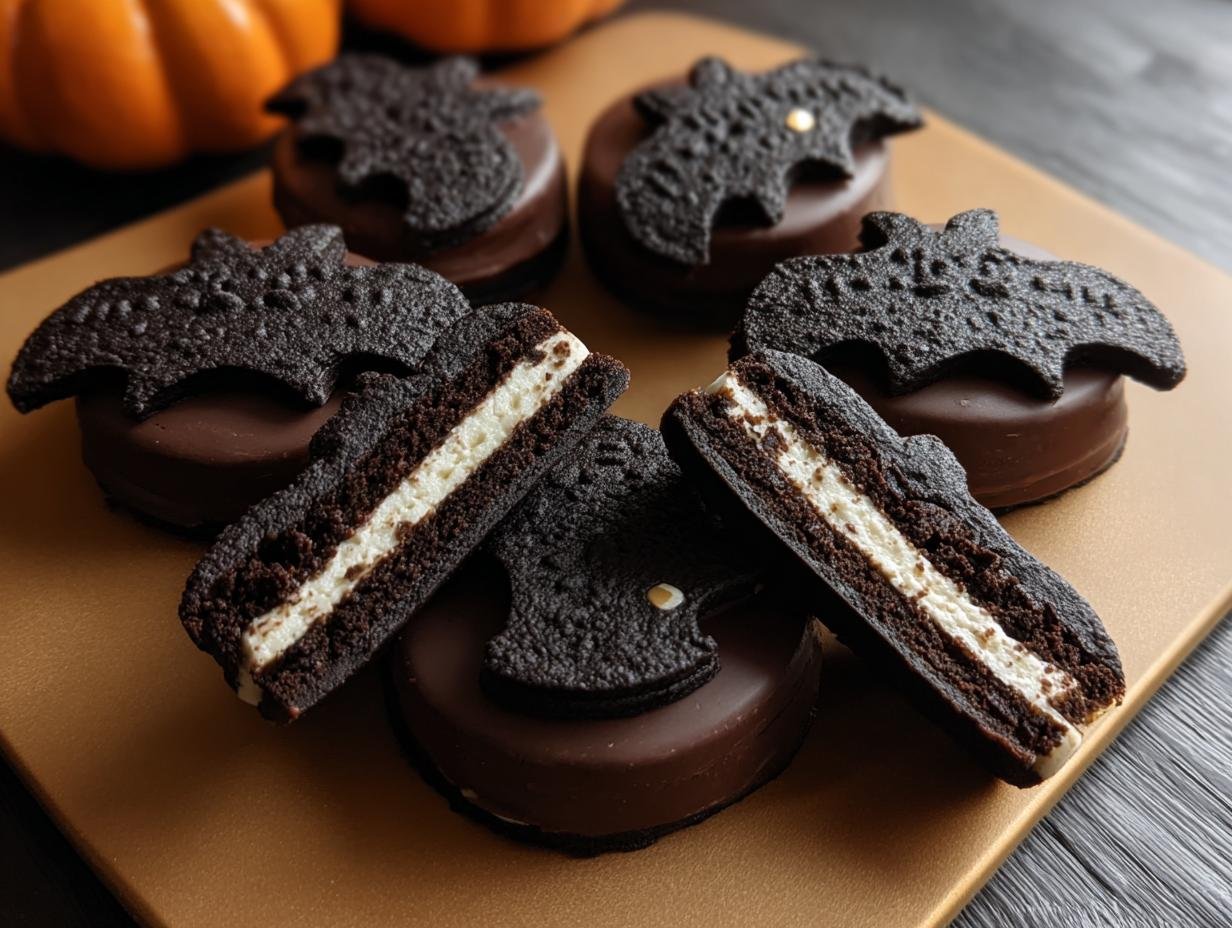
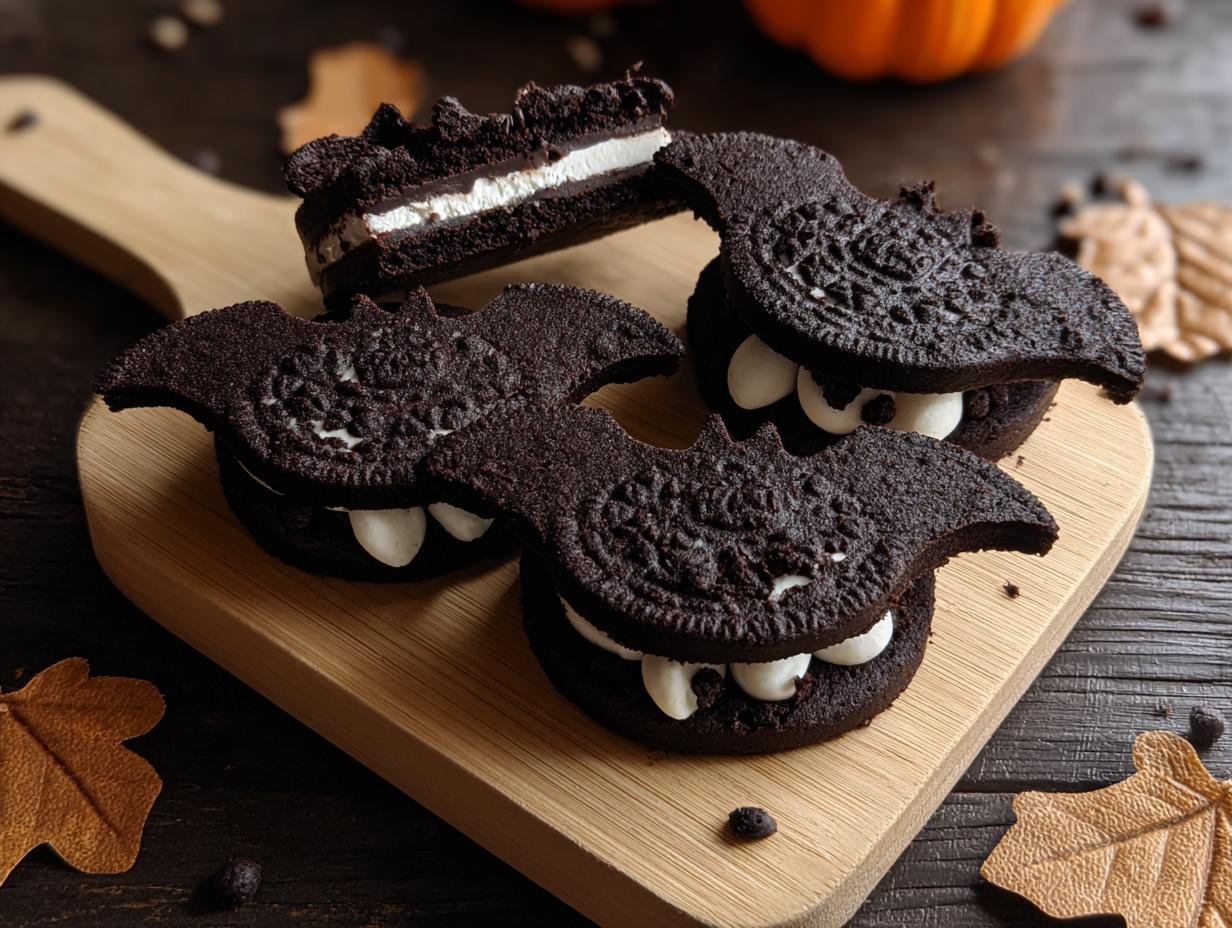
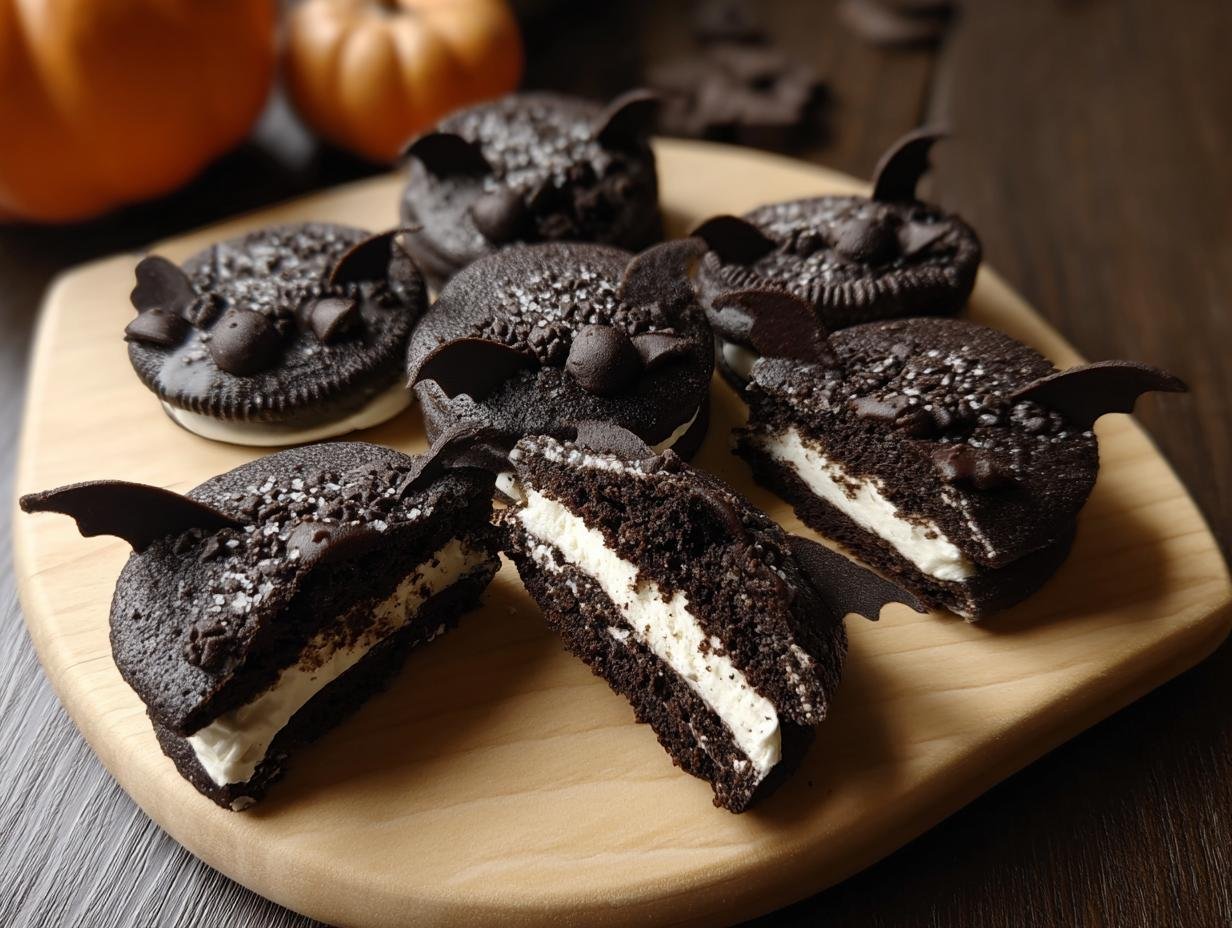
Oreo Style Bat Cookies have become my absolute favorite Halloween treat to whip up. There’s something so magical about transforming a classic chocolate sandwich cookie into a cute, spooky bat! I remember the first time I tried making them, the kitchen filled with the rich aroma of cocoa and sweet vanilla, and my kids’ faces lit up with excitement. They’re surprisingly simple to make, and this Oreo bat cookies recipe is perfect for a fun afternoon of baking. If you’re looking for a delightful way to get creative in the kitchen, this DIY Oreo bat cookies project is a guaranteed hit for all ages. Let’s get cooking!
Why You’ll Love These Oreo Style Bat Cookies
Get ready to fall in love with these delightful treats! They’re:
- Incredibly delicious, with a rich chocolate flavor and creamy filling that mimics your favorite sandwich cookies.
- Surprisingly quick to make, perfect for when you need a fast Halloween treat.
- A fun family activity, making them wonderful easy Oreo bat cookies for baking with kids.
- Budget-friendly, using common pantry staples for a cost-effective indulgence.
- Healthier than store-bought options, giving you control over the ingredients.
- Visually charming, with their cute bat shape and festive decorations.
- A fantastic way to impress guests with your baking skills, these easy Oreo bat cookies are a guaranteed crowd-pleaser.
- Perfect for any spooky celebration or just a fun afternoon baking session.
Ingredients for Oreo Style Bat Cookies
Gathering these Oreo bat cookie ingredients is the first step to creating these adorable treats. You’ll need these essentials for both the cookies and the creamy filling:
- 157 grams Plain Flour (that’s about 1 1/4 cups) – the base for our chocolatey dough.
- 48 grams Cocoa Powder (around 1/3 cup plus 1 tbsp) – this gives our cookies that deep, rich chocolate flavor reminiscent of Oreos.
- 1/2 tsp Bicarbonate of Soda – crucial for getting that perfect soft-baked texture.
- 1/8 tsp Salt – enhances all the flavors.
- 187 grams Icing Sugar, sieved – this makes our buttercream filling super smooth and sweet.
- 113 grams Butter, unsalted, cubed & soft (about 1/2 cup) – the foundation for our luscious buttercream.
- 100 grams Granulated Sugar (about 1/2 cup) – adds sweetness and structure to the cookie dough.
- 3 tbsp Golden Syrup (around 60g) – this liquid sweetener is key for that soft, chewy cookie texture.
- 128 grams Butter, unsalted & melted (about 3/4 cup) – used to create the smooth, spreadable filling.
- 3/4 tsp Vanilla Extract – for that classic sweet aroma and taste.
- 1 pinch Salt (for buttercream) – balances the sweetness of the filling.
- 20 Sprinkles, oven-safe – these are our cute little bat eyes! Make sure they can handle the heat.
How to Make Oreo Style Bat Cookies
Let’s dive into the fun part of how to make Oreo bat cookies! It’s a straightforward process that yields incredibly satisfying results.
- Step 1: Start by preheating your oven to 180°C (160°C fan) / 350°F / Gas Mark 4. Line a couple of baking trays with parchment paper, preparing them for our cookie shapes.
- Step 2: In a large mixing bowl, cream together the soft butter, granulated sugar, golden syrup, bicarbonate of soda, and a pinch of salt. Beat this mixture on medium speed until it’s wonderfully light and fluffy. The aroma at this stage is already heavenly!
- Step 3: Sieve the plain flour and cocoa powder directly over the wet ingredients. Begin mixing on a low speed, using the back of a spoon to help incorporate the dry ingredients into the wet. Continue mixing until a thick, cohesive dough forms.
- Step 4: Gently knead the dough by hand right in the bowl until it forms a smooth, flat disc. This helps ensure an even texture.
- Step 5: Place the dough between two sheets of parchment paper. If it feels a bit sticky, dust lightly with icing sugar. Roll it out evenly to about 4-5 mm (roughly 1/6 to 1/5 inch) thickness.
- Step 6: Lightly dust your bat-shaped cookie cutter with flour or icing sugar. Cut out your bat shapes, carefully transferring them to the prepared baking trays, leaving a little space between each one. Re-roll any scraps to make more cookies, always aiming for pairs.
- Step 7: Gently press oven-safe sprinkles onto the cookies where the eyes would be. This is a key step in how to make Oreo bat cookies look like little bats!
- Step 8: Chill the tray of decorated cookies in the fridge for a full hour, or for a quicker chill, try 5 minutes in the freezer followed by 25 minutes in the fridge. This firming step is crucial to prevent the cookies from spreading too much during baking.
- Step 9: Bake the chilled cookies for 10 to 15 minutes. You’re looking for them to be just set but still soft to the touch. A good test is to gently push one with a spatula; if it cracks, it might need another minute or two, but avoid over-baking to keep them tender.
- Step 10: Let the cookies cool on the baking tray for a few minutes before carefully transferring them to a wire rack to cool completely. This prevents them from breaking.
- Step 11: While cookies cool, melt the cubed butter in a small pot over medium-high heat. Reduce the heat to low-medium and let it simmer gently, stirring occasionally, until it turns a clear golden color. Remove from heat, stir in the vanilla extract and a pinch of salt. Strain it to get a clear liquid and let it cool for about 5 minutes.
- Step 12: Sieve the icing sugar into a mixing bowl. Gradually add the clarified melted butter, mixing well after each addition until you achieve a smooth, spreadable consistency. If it’s too thick, a tiny splash of milk can help.
- Step 13: Spread a generous amount of this luscious buttercream onto the flat side of one cookie from each pair. Sandwich it with another cookie, pressing gently to create your adorable Oreo bat cookies.
- Step 14: Place the assembled sandwich cookies back in the fridge for at least 30 minutes to allow the filling to set firmly. This completes our guide on how to make Oreo bat cookies!
Pro Tips for the Best Oreo Style Bat Cookies
Want to make your Oreo bat cookies truly spectacular? Follow these insider tricks:
- Always use good quality cocoa powder; it’s the backbone of that classic chocolate flavor.
- Don’t over-roll the dough; aim for that 4-5 mm thickness for perfectly tender cookies.
- Chilling the dough is non-negotiable! It stops the bat shaped Oreo cookies from spreading and keeps those cute bat edges sharp.
- Bake until *just* set. The cookies will continue to cook slightly on the hot baking sheet, ensuring they stay soft.
What’s the secret to perfect Oreo Style Bat Cookies?
The real magic lies in the clarified butter for the filling and the crucial chilling step for the dough. This combination ensures a smooth, spreadable filling and prevents your bat shaped Oreo cookies from losing their definition. For more baking tips, check out our baking philosophy.
Can I make Oreo Style Bat Cookies ahead of time?
Yes! You can prepare the cookie dough up to 2 days in advance and keep it chilled in the fridge. Roll out and cut the shapes just before baking for the freshest results. You can find more tips from our expert bakers.
How do I avoid common mistakes with Oreo Style Bat Cookies?
Avoid over-mixing the dough once the flour is added, as this can make cookies tough. Also, be vigilant with baking times – over-baking is the quickest way to turn these tender treats into hard discs. For more on ingredient science, you can explore resources on baking science.
Best Ways to Serve Oreo Style Bat Cookies
These charming Oreo bat cookies are fantastic on their own, but they truly shine when paired with other spooky treats or served in creative ways. Imagine a dessert table laden with these alongside some ghostly meringues or pumpkin spice cupcakes – pure Halloween magic! They make a wonderful addition to any Halloween Oreo bat cookies platter, especially when served with a cold glass of milk or a warm mug of apple cider. For a fun twist, try arranging them on a platter with some chocolate pretzel “branches” for a spooky forest effect. They’re also perfect for party favors, bagged up with a cute ribbon! Learn more about hosting Halloween parties.
Nutrition Facts for Oreo Style Bat Cookies
Here’s a breakdown of the estimated nutritional information for each delightful Oreo bat cookie, perfect for keeping track of your spooky treats:
- Calories: 210 kcal
- Fat: 12 g
- Saturated Fat: 7 g
- Protein: 2 g
- Carbohydrates: 24 g
- Fiber: 2 g
- Sugar: 18 g
- Sodium: 110 mg
Nutritional values are estimates and may vary based on specific ingredients and portion sizes used in your Oreo cookie bat recipe. For more information on nutritional estimates, please see our disclaimer.
How to Store and Reheat Oreo Style Bat Cookies
Properly storing your delicious homemade Oreo bat cookies is key to keeping them fresh and delightful. Once your cookies have completely cooled – and I mean *completely* cooled, otherwise condensation can make them soggy – gently place them in an airtight container. If you’re keeping them at room temperature, they should stay wonderfully soft for about 3 to 4 days. For longer storage, you can pop those airtight containers into the refrigerator. If you’ve made a big batch and want them to last even longer, freezing is your best friend! Wrap the cooled cookies well in plastic wrap, then in foil, and they’ll keep their spooky charm in the freezer for up to 3 months. When you’re ready to enjoy them again, simply let them thaw in the refrigerator overnight. If you want to warm them up a bit, a few seconds in the microwave or a short stint in a low oven (around 250°F or 120°C) can revive that fresh-baked taste.
Frequently Asked Questions About Oreo Style Bat Cookies
Can I use a different type of cookie cutter for these bats?
Absolutely! While a bat shape is super cute for Halloween, you can use any cookie cutter you like. Just remember to get pairs that match for sandwiching. This flexibility is one of the best things about this versatile Oreo cookie bat recipe.
What’s the best way to get a smooth buttercream filling?
The key is to sift your icing sugar and use clarified, cooled melted butter. If the mixture seems too thick to spread, a tiny splash of milk will help achieve that perfect, smooth consistency for your sandwich cookies.
Can I make the cookie dough ahead of time for my Oreo cookie bat recipe?
Yes, you can! Prepare the dough up to two days in advance and store it wrapped tightly in the refrigerator. This makes assembly even quicker when you’re ready to bake your Oreo cookie bat recipe.
What if I don’t have oven-safe sprinkles?
If you can’t find oven-safe sprinkles, you can simply add edible candy eyes after the cookies have baked and cooled. They won’t melt in the oven and will give your Oreo bat cookies that perfect spooky look.
Variations of Oreo Style Bat Cookies You Can Try
Once you’ve mastered the classic Oreo bat cookies recipe, why not get creative with some fun variations? These twists can cater to different tastes and dietary needs, ensuring everyone can enjoy these delightful treats. Here are a few ideas to get you started:
- Dietary Adaptations: For gluten-free versions, simply swap the plain flour for a good quality gluten-free flour blend. You might need to adjust the liquid slightly. For a vegan option, use a vegan butter substitute for both the cookie dough and the filling, and ensure your sprinkles are also vegan-friendly. These adaptations still result in wonderfully chewy chocolate sandwich cookie bats.
- Flavor Infusions: Want to switch up the chocolatey goodness? Try adding a teaspoon of instant coffee granules to the cookie dough for a mocha twist, or a hint of peppermint extract instead of vanilla in the filling for a minty kick. A little orange zest in the dough can also add a subtle, festive flavor.
- No-Bake Version: If you’re short on time or prefer not to bake, you can adapt these into a no-bake treat. Crush plain chocolate cookies (like Oreos) finely, mix with melted butter and a touch of sweetener to bind, then press into bat molds or shape by hand. The filling can be a simple cream cheese or buttercream mixture.
- Decorating Fun: Beyond the sprinkles for eyes, get creative with royal icing to draw spooky spiderwebs or fangs on your chocolate sandwich cookie bats. Edible glitter can also add an extra touch of magic for any festive occasion.
Oreo Bat Cookies: 4 Epic Halloween Treats

These Oreo Style Bat Cookies are chocolatey, soft-baked treats perfect for Halloween or any fun occasion. Featuring a rich cocoa dough with a smooth, creamy buttercream filling, these cookies are decorated with oven-safe sprinkles to resemble cute bat eyes. The recipe involves a simple chocolate cookie dough, a luscious homemade buttercream filling, and tips for perfect chilling and baking to achieve the ideal soft and tender texture.
- Prep Time: 20 minutes
- Cook Time: 12 minutes
- Total Time: 1 hour 32 minutes
- Yield: Approximately 20 cookies (10 sandwich pairs) 1x
- Category: Dessert, Cookies
- Method: Baking
- Cuisine: American
- Diet: Vegetarian
Ingredients
- 157 grams Plain Flour (5 1/2 oz, 1 1/4 cup All Purpose)
- 48 grams Cocoa Powder (1 1/2 oz, 1/3 cup + 1 tbsp)
- 1/2 tsp Bicarbonate of Soda (Baking Soda)
- 1/8 tsp Salt
- 1 Pinch Salt (for buttercream)
- 187 grams Icing Sugar, sieved
- 113 grams Butter, unsalted, cubed & soft (4 oz, 1/2 cup, 1 stick)
- 100 grams Granulated Sugar (3 1/2 oz, 1/2 cup)
- 3 tbsp Golden Syrup (60g / 2 oz)
- 128 grams Butter, unsalted & melted (6 oz, 3/4 cup)
- 3/4 tsp Vanilla Extract
- 20 Sprinkles, oven-safe (for bat eyes)
Instructions
- Combine butter, granulated sugar, golden syrup, bicarbonate of soda, and salt in a large mixing bowl. Mix on low speed or by hand at first, then increase to medium speed and beat until the mixture is light and fluffy.
- Sieve the plain flour and cocoa powder over the wet mixture. Mix on low speed, pushing the dough down with the back of a spoon to help the flour absorb moisture. Continue mixing on low to medium speed until a thick dough forms. Knead by hand in the bowl to create a smooth, flat disc-shaped dough.
- Line baking trays with baking or parchment paper, ready for the cookies.
- Place the dough between two sheets of paper and dust with icing sugar if necessary. Roll out to 4-5 mm (about 1/6 to 1/5 inch) thickness.
- Dust a cookie cutter with flour or icing sugar and cut out bat shapes. Neaten edges if needed. Transfer cookies carefully to the lined baking tray with small gaps between them. Re-roll scraps to make more cookies ensuring pairs for sandwiching.
- Press oven-safe sprinkles onto the cookies to create bat eyes. Chill the tray of cookies in the fridge for 1 hour, or 5 minutes in the fridge followed by 25 minutes in the freezer, to firm the dough before baking. Preheat the oven to 180°C (160°C fan)/350°F/Gas Mark 4 during chilling.
- Bake cookies for 10 to 15 minutes until just set but still soft. Check around 8 or 9 minutes by gently pushing with a spatula—if they stick or crack, bake a little longer but avoid over-baking to keep them tender.
- Allow the cookies to cool on the baking tray for a few minutes. Then transfer carefully to a cooling rack with the paper to cool completely.
- Melt the cubed butter in a small pot over medium-high heat, then reduce to low-medium and simmer, stirring occasionally. Remove from heat and stir in vanilla extract and a pinch of salt. Strain the melted butter to get a clear golden liquid and let it cool for 5 minutes.
- Sieve the icing sugar into a mixing bowl. Add white or purple food coloring at this stage if a whiter buttercream is desired.
- Slowly add the clarified melted butter to the icing sugar, mixing well after each addition. Mix until you reach a smooth, spreadable consistency. Thin with a little milk if you want to pipe the filling.
- Spread a generous amount of buttercream onto the underside of one cookie of each pair using an offset spatula or butter knife. Sandwich with the other cookie and gently press together.
- Place assembled sandwich cookies in the fridge for at least 30 minutes to let the filling set.
Notes
- Golden syrup can be substituted with light corn syrup or honey, but the flavor and texture may slightly vary.
- Use oven-safe sprinkles only to prevent melting or burning during baking.
- Chilling the dough is essential to prevent cookie spread and maintain defined bat shapes.
- Watch baking times carefully to avoid over-baking, which makes cookies dry and hard.
- Buttercream can be adjusted for consistency by adding a little milk if too thick or beaten longer if too thin.
- For a more authentic Oreo filling look, add a drop of purple food coloring to make the buttercream appear whiter.
Nutrition
- Serving Size: 1 sandwich cookie (2 cookies with filling)
- Calories: 210 kcal
- Sugar: 18 g
- Sodium: 110 mg
- Fat: 12 g
- Saturated Fat: 7 g
- Unsaturated Fat: 4 g
- Trans Fat: 0 g
- Carbohydrates: 24 g
- Fiber: 2 g
- Protein: 2 g
- Cholesterol: 30 mg


Leave a Reply