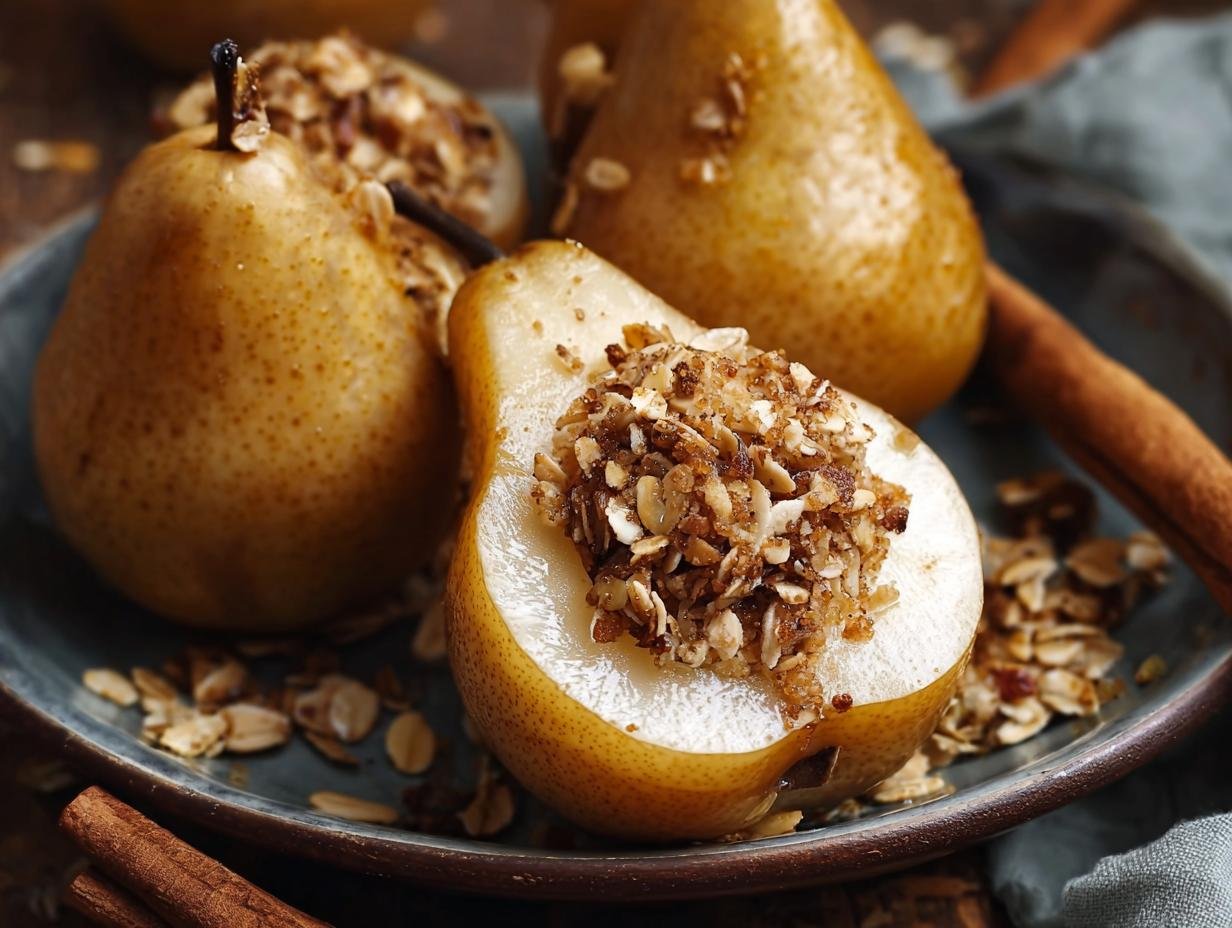
Baked Pears have a way of making any chilly evening feel cozy and magical. I remember the first time I tried making this baked pear recipe; the aroma of cinnamon and warm fruit filling my kitchen instantly transported me back to my grandmother’s house. It’s such a simple yet elegant dessert that even a beginner can master. These easy baked pears, with their tender fruit and crunchy topping, are pure comfort in a bowl. Let’s get cooking!
Why You’ll Love This Baked Pear Recipe
You’re going to adore this simple yet incredibly satisfying dessert. Here’s why:
- The taste is divine – warm, sweet pears with a delightful cinnamon-spiced crunch.
- It’s lightning fast to prepare, taking only about 10 minutes of active time.
- These are truly healthy baked pears, packed with fiber and natural sweetness.
- It’s super budget-friendly, using common pantry staples for a gourmet feel.
- Kids adore them, making it a perfect family-friendly treat.
- The aroma of baked pears with cinnamon is pure autumn bliss.
- It’s incredibly versatile; you can easily adapt it with different nuts or spices.
- Enjoying baked pears with cinnamon feels like a special occasion, even on a weeknight.
Ingredients for Baked Pears
Gather these simple ingredients for a truly delightful dessert. You’ll need:
- 4 medium ripe pears – choose firm ones like Bosc or Anjou for the best texture.
- 2 tablespoons melted butter – this helps the topping crisp up beautifully.
- 1 tablespoon cinnamon sugar – a quick mix of sugar and cinnamon for that sweet, spiced flavor.
- 1 cup old-fashioned rolled oats – these provide a wonderful chewy texture in the topping.
- 1/2 cup finely chopped almonds – adding nuts like these almonds gives a fantastic crunch and depth, making it one of the best baked pears with nuts recipes.
- 1/4 cup brown sugar – for that classic caramel-like sweetness.
- 1 teaspoon ground cinnamon – the star spice that makes these so aromatic.
- 1/4 teaspoon kosher salt – balances the sweetness and enhances all the flavors.
How to Make Baked Pears
Learning how to bake pears is incredibly rewarding, and this recipe makes it foolproof. The process is simple, and the results are wonderfully comforting. Here’s how you can create these delicious oven-baked pears:
- Step 1: Kick things off by preheating your oven to 350°F (175°C). While the oven heats up, grab a baking dish that’s just big enough to hold your pear halves snugly.
- Step 2: Gently halve the pears lengthwise. A sharp knife makes this easy. Then, use a spoon or a melon baller to carefully scoop out the core and seeds from each half. Arrange the pear halves cut-side up in your prepared baking dish. You want them to sit nicely so the topping stays put.
- Step 3: Now, let’s make that irresistible topping. In a medium bowl, combine the melted butter with the old-fashioned rolled oats, finely chopped almonds, brown sugar, ground cinnamon, and kosher salt. Mix everything together with a fork or your hands until it’s nicely combined and the dry ingredients are moistened. This mixture is key to that perfect texture when you bake pears.
- Step 4: Spoon this glorious oat and nut mixture generously over the cut side of each pear half. Don’t be shy; pack it in there! You want a good, thick layer so every bite has that delightful crunch.
- Step 5: Carefully place the baking dish into the preheated oven. Let them bake for about 50 minutes. You’ll know they’re ready when the pears are tender when pierced with a fork and the topping is beautifully golden brown and smells amazing. This is the magic of mastering how to bake pears!
- Step 6: Once they’re done, carefully remove the dish from the oven. Let them cool just slightly before serving. These baked pears are fantastic served warm, perhaps with a scoop of vanilla ice cream or a dollop of Greek yogurt. Enjoy the sweet, warm fruit and the crunchy, spiced topping!
Pro Tips for the Best Oven-Baked Pears
Want to elevate your baked pears from good to absolutely amazing? I’ve got a few tricks up my sleeve that guarantee a perfect result every time. These little tips make a big difference!
- Always choose slightly firm pears; they hold their shape better during baking. If they’re too ripe, they can turn mushy.
- Don’t skimp on the topping! A generous layer ensures every bite has that delicious crunch and spice.
- For an extra decadent touch, consider adding a splash of maple syrup or a dollop of mascarpone cheese on top before serving.
- If you don’t have almonds, walnuts or pecans work beautifully as a substitute in the topping mixture.
What’s the secret to perfect baked pears?
The real secret to a fantastic baked pear recipe lies in the topping and the bake time. Using oats and nuts creates a delightful textural contrast to the soft fruit, and baking until the topping is golden and the pears are tender is key to this simple dessert.
Can I make baked pears ahead of time?
You sure can! You can prepare the pears and the topping mixture up to 24 hours in advance. Just assemble them in the baking dish, cover tightly with plastic wrap, and refrigerate. You might need to add a few extra minutes to the baking time if they’re going in the oven cold. For more tips on food preparation, check out our approach to cooking.
How do I avoid common mistakes with baked pears?
A common pitfall is using overripe pears, which can lead to a mushy texture. Another mistake is not preheating the oven properly, which affects how the pears tenderize. Always ensure your oven is at the correct temperature for the best outcome. You can find more information on proper oven temperatures and baking techniques from Food Network.
Best Ways to Serve Baked Pears for Dessert
These warm, comforting pears are incredibly versatile and make a stunning dessert. My favorite way to serve them is simply as they are, with that delicious crunchy topping. For an extra touch of indulgence, I love adding a scoop of creamy vanilla bean ice cream or a dollop of thick Greek yogurt right into the pear cavity. The contrast of the warm, soft pear with the cold, creamy topping is just heavenly! You can also get creative with baked pears with toppings like a drizzle of honey or a sprinkle of toasted coconut flakes. They’re also fantastic alongside a slice of pound cake or a small bowl of crème fraîche. For more dessert inspiration, visit our author page.
Nutrition Facts for Healthy Baked Pears
Here’s a look at the nutritional breakdown for these wonderful healthy baked pears, per serving. They’re a fantastic option for a lighter dessert that still feels indulgent.
- Calories: 180 kcal
- Fat: 7 g
- Saturated Fat: 3 g
- Protein: 3 g
- Carbohydrates: 30 g
- Fiber: 4 g
- Sugar: 12 g
- Sodium: 100 mg
Nutritional values are estimates and can vary based on the specific ingredients and pear varieties you use. For more on healthy eating, see our disclaimer page.
How to Store and Reheat Baked Pears
Enjoying these delicious baked pears doesn’t have to end after the first serving! Proper storage ensures you can savor these simple baked pears for days to come. Once they’ve cooled down completely, transfer any leftovers to an airtight container. They should keep well in the refrigerator for about 3 to 4 days. For longer storage, you can freeze baked pears. Wrap them tightly in plastic wrap, then in foil, and they’ll be good in the freezer for up to 3 months. When you’re ready to reheat, you have a couple of great options. For a quick warm-up, pop them in the microwave for about 30-60 seconds, or until heated through. If you prefer them a bit crispier, you can reheat them in a 300°F (150°C) oven for about 10-15 minutes. If you have any questions about storage, feel free to contact us.
Frequently Asked Questions About Baked Pears
What are baked pears, and why make them?
Baked pears are simply pears that have been cooked in the oven, usually until tender and fragrant. People love to bake pears because it intensifies their natural sweetness and creates a wonderfully comforting dessert. It’s a fantastic way to enjoy seasonal fruit, and this recipe highlights their delicious flavor with a warm, spiced topping.
Can I use different types of pears for baking?
Absolutely! While some pears hold their shape better, you can use most varieties. Firmer pears like Bosc, Anjou, or Comice are excellent choices as they tend to stay more intact. Softer pears like Bartlett can also be used, but they might cook down a bit more, resulting in a cozier, almost saucier texture.
What are the best toppings for baked pears?
The possibilities are endless when it comes to baked pears with toppings! Beyond the crunchy oat topping in this recipe, you can drizzle them with honey, maple syrup, or caramel sauce. A dollop of whipped cream, crème fraîche, or a scoop of vanilla ice cream is always a winner. For extra crunch, consider toasted pecans, walnuts, or even a sprinkle of granola.
How do baked pears compare to roasted pears?
While often used interchangeably, there’s a slight difference. Roasted pears typically involve higher heat and are often tossed with oil or butter and seasonings before roasting. This recipe for baked pears uses a moderate oven temperature and focuses on a sweet, crumbly topping. Both methods bring out a wonderful flavor and tender texture in the fruit. For more on cooking techniques, see our privacy policy.
Variations of Baked Pears You Can Try
Once you’ve mastered the basic baked pear recipe, you’ll want to explore all the delicious ways to customize them! These variations offer new flavors and cater to different preferences, making how to bake pears even more exciting.
- Dietary Swap: For a dairy-free treat, swap the butter for coconut oil and use pure maple syrup instead of brown sugar in the topping. This makes for wonderfully sweet and healthy baked pears.
- Flavor Boost: Add a teaspoon of cardamom or nutmeg to the topping mixture for even more warmth. You can also try stuffing the pear cavities with dried cranberries or chopped dates before adding the topping for extra bursts of flavor.
- Honey & Spice Delight: Drizzle the pears with baked pears with honey before baking for an extra layer of sweetness and a beautiful glaze. You can also experiment with different baked pears with spices by adding a pinch of ground ginger or cloves to the topping for a more complex flavor profile.
- Grill It! For a smoky twist, try grilling your pears! Halve them, remove the core, brush with a little oil, and grill cut-side down over medium heat for about 5-7 minutes. Then, top with your favorite mixture and grill for a few more minutes until tender.
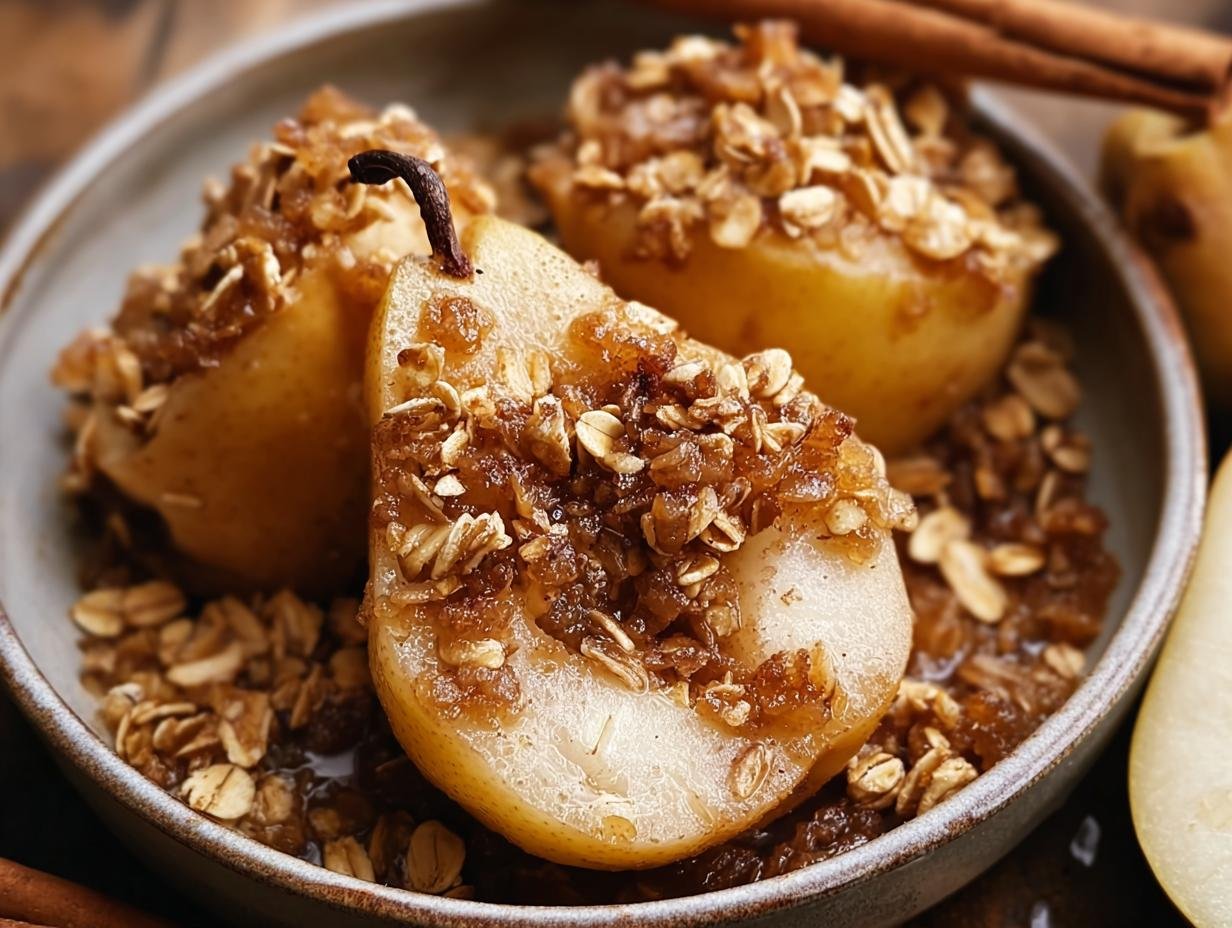
Baked Pears: 4 Simple Steps to Bliss

Sweet and warm Baked Pears with a crunchy topping, perfect for a cozy fall dessert. This recipe is simple, healthy, and easy to make.
- Prep Time: 10 minutes
- Cook Time: 50 minutes
- Total Time: 1 hour
- Yield: 6 servings 1x
- Category: Desserts
- Method: Baking
- Cuisine: American
- Diet: Vegetarian
Ingredients
- 4 medium ripe pears
- 2 tablespoons melted butter
- 1 tablespoon cinnamon sugar
- 1 cup old-fashioned rolled oats
- 1/2 cup finely chopped almonds
- 1/4 cup brown sugar
- 1 teaspoon ground cinnamon
- 1/4 teaspoon kosher salt
Instructions
- Preheat your oven to 350°F (175°C).
- Halve the pears and remove the core. Arrange cut side up in a baking dish.
- In a bowl, mix melted butter, oats, chopped almonds, brown sugar, ground cinnamon, and kosher salt until well combined.
- Spoon the oat mixture generously over each pear half.
- Bake for 50 minutes, or until pears are tender and topping is golden brown.
- Serve with a drizzle of ice cream or yogurt.
Notes
- Optional: Drizzle with honey for extra sweetness.
- Store leftovers in an airtight container in the refrigerator for up to 3 days.
- Choose firm pears for optimal baking.
- Can substitute butter with coconut oil for a dairy-free option.
- Consider replacing nutmeg with cinnamon.
- White sugar can be substituted for brown sugar.
- Instant oats can be used for a softer texture.
- Substitute walnuts or pecans for almonds.
Nutrition
- Serving Size: 1 serving
- Calories: 180 kcal
- Sugar: 12 g
- Sodium: 100 mg
- Fat: 7 g
- Saturated Fat: 3 g
- Unsaturated Fat: 4 g
- Trans Fat: 0 g
- Carbohydrates: 30 g
- Fiber: 4 g
- Protein: 3 g
- Cholesterol: 15 mg


Leave a Reply