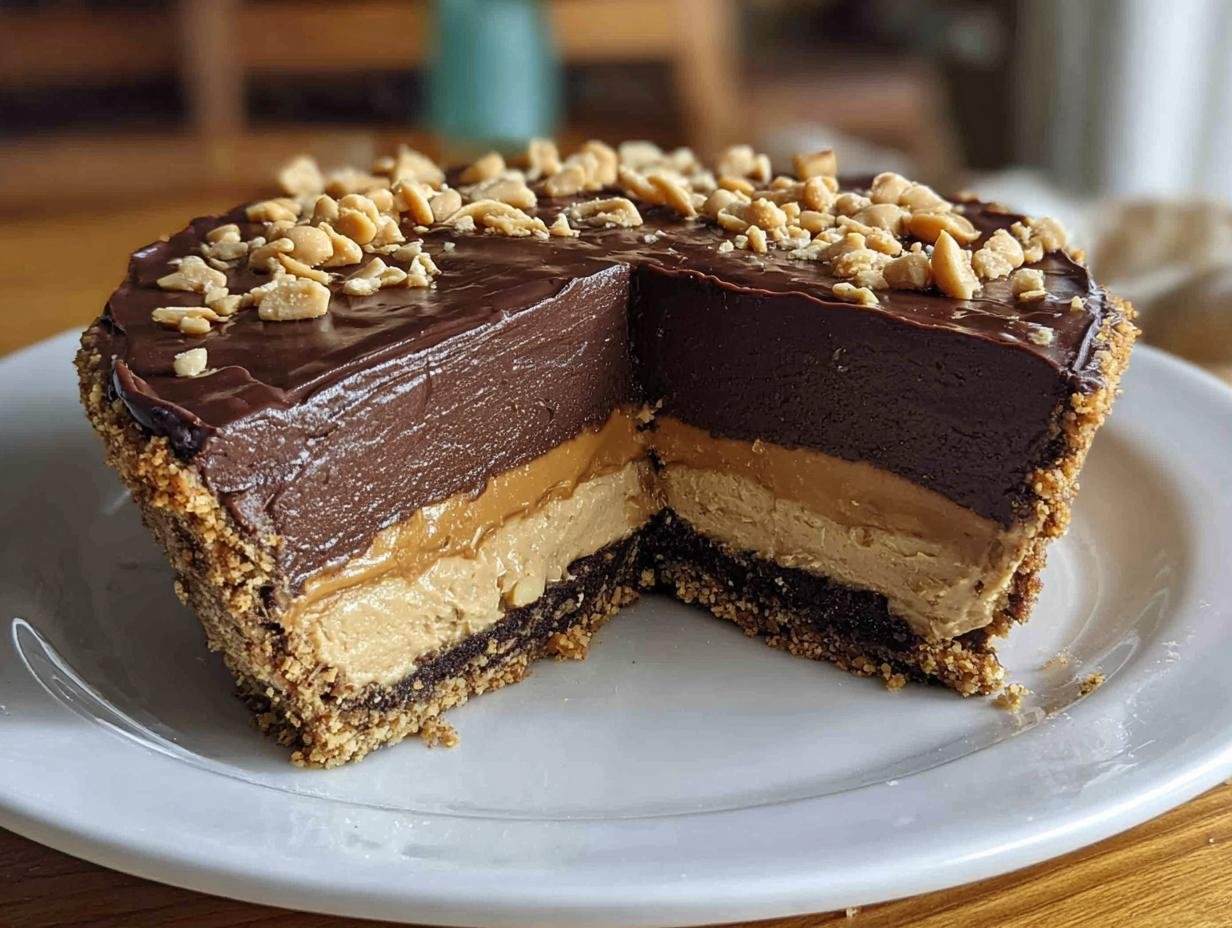
Bake chocolate peanut butter desserts have always been my weakness, especially when they taste like a giant peanut butter cup. My mom used to make a similar treat when I was a kid, and the smell of creamy peanut butter mixed with rich chocolate filling my childhood kitchen is a memory I cherish. This no-bake chocolate peanut butter pie takes that nostalgic flavor and makes it incredibly easy to recreate. You’ll love the smooth, decadent layers and the satisfying crunch of the buttery graham cracker crust. It’s the perfect easy chocolate peanut butter recipe for any gathering, or just because! Let’s get baking!
Why You’ll Love This No-Bake Chocolate Peanut Butter Pie
This recipe is a dream come true for anyone who adores the classic combo of chocolate and peanut butter. Forget the oven – this is an effortless way to create a showstopper. Here’s why you’ll be making this bake chocolate peanut butter dessert again and again:
- Effortless Assembly: No baking means less stress and more time to enjoy!
- Incredibly Creamy Texture: The filling is luxuriously smooth and melts in your mouth.
- Rich Flavor Combination: You get that perfect balance of sweet chocolate and salty peanut butter in every bite.
- Budget-Friendly Ingredients: Most items are pantry staples, making this an affordable treat. Learn more about our philosophy on simple, delicious cooking.
- Impressive Presentation: It looks as good as it tastes, perfect for parties or potlucks.
- Tastes Like a Giant Peanut Butter Cup: If you love those iconic candies, you’ll adore this pie.
- Quick Prep Time: You can whip up this easy chocolate peanut butter recipe in under 20 minutes.
- Perfect for Any Occasion: From weeknight cravings to holiday gatherings, it always satisfies.
Ingredients for Bake Chocolate Peanut Butter Pie
Gather these simple ingredients to create your delicious no-bake chocolate peanut butter pie. You’ll find most of them are pantry staples, making this an easy chocolate peanut butter recipe to whip up anytime. This recipe is designed to give you that perfect balance of flavors and textures.
- 1 ½ cups graham cracker crumbs – This forms the sturdy, buttery base for our pie.
- ½ cup unsalted butter, melted – Helps bind the crumbs together for a firm crust.
- 1 cup creamy peanut butter – The star of the show! Choose a good quality, smooth peanut butter for the creamiest filling.
- 1 cup powdered sugar – Sweetens the peanut butter filling and contributes to its smooth texture.
- 1 cup heavy whipping cream – Whipped to perfection, this adds lightness and airiness to the peanut butter layer.
- 1 cup chocolate chips – For that irresistible chocolate topping that makes this a true bake chocolate peanut butter dream.
- 2 tbsp milk – Used to help melt the chocolate chips smoothly for the topping.
How to Make Bake Chocolate Peanut Butter Pie
Creating this delightful no-bake chocolate peanut butter pie is a breeze, and the results are truly spectacular. You’ll be amazed at how simple it is to achieve a dessert that tastes like it came from a high-end bakery. Follow these easy steps to craft a treat that’s perfect for satisfying any sweet craving. This recipe is designed to be straightforward, ensuring a delicious outcome every time you bake chocolate peanut butter goodness.
- Step 1: In a medium bowl, thoroughly mix the graham cracker crumbs with the melted butter until the crumbs are evenly moistened. It should resemble wet sand. Press this mixture firmly and evenly into the bottom and up the sides of a 9-inch pie pan to create your crust. For best results, chill the crust in the refrigerator for at least 10-15 minutes while you prepare the filling.
- Step 2: In a separate bowl, combine the creamy peanut butter and powdered sugar. Stir them together until they are well incorporated and form a smooth, thick paste. This mixture is the heart of our pie, so ensure it’s lump-free for the best texture.
- Step 3: In a chilled bowl (using cold equipment helps!), whip the heavy whipping cream using an electric mixer on medium-high speed. Continue whipping until stiff peaks form – this means when you lift the beaters, the cream holds its shape. Please review our disclaimer regarding ingredient variations.
- Step 4: Gently fold the whipped cream into the peanut butter and powdered sugar mixture. Use a spatula and a light hand to incorporate the cream, aiming for a fluffy, airy consistency. Be careful not to overmix, as this can deflate the whipped cream.
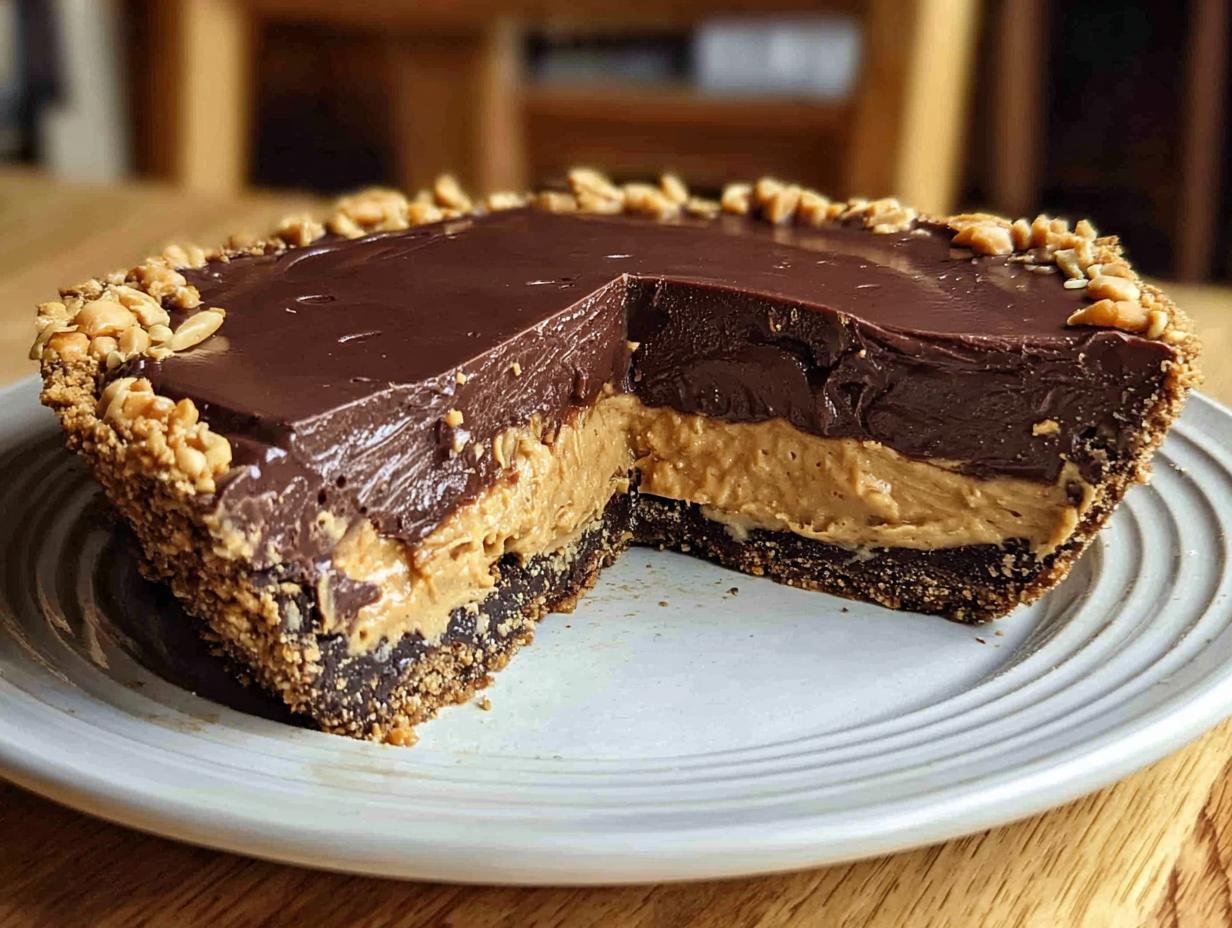
- Step 5: Spoon the light and fluffy peanut butter filling evenly over the chilled graham cracker crust. Smooth the top with your spatula to create an even layer, ensuring the entire surface is covered for that perfect peanut butter cup experience.
- Step 6: In a microwave-safe bowl, combine the chocolate chips and milk. Microwave in 30-second intervals, stirring between each, until the chocolate is completely melted and smooth. Pour this luscious chocolate topping evenly over the peanut butter layer, spreading it to the edges.
- Step 7: Cover the pie loosely with plastic wrap and refrigerate for at least 4 hours, or preferably overnight, to allow the filling to set fully. This chilling time is crucial for achieving the perfect slice when you bake chocolate peanut butter pie.
Preparing the Graham Cracker Crust
Start by combining the graham cracker crumbs and melted butter until well mixed. Press this mixture firmly into your pie pan, creating an even base and sides. Chilling this crust for 10-15 minutes helps it set nicely before adding the filling.
Creating the Creamy Peanut Butter Filling
Blend the peanut butter and powdered sugar until smooth. Separately, whip the heavy cream until stiff peaks form. Gently fold the whipped cream into the peanut butter mixture to achieve a light and airy texture.
Assembling and Chilling the Pie
Spread the creamy peanut butter filling into the chilled crust. Melt chocolate chips with milk and pour this over the filling. Chill the pie for at least 4 hours, or until firm, before serving this irresistible bake chocolate peanut butter treat.
Pro Tips for the Best Bake Chocolate Peanut Butter Pie
I’ve made this no-bake chocolate peanut butter pie more times than I can count, and I’ve picked up a few tricks along the way to guarantee a perfect result every time. These tips will help ensure your pie is incredibly delicious and has that restaurant-quality presentation you’re aiming for. It’s all about the little details when you bake chocolate peanut butter goodness!
- Chill Everything: For the fluffiest whipped cream, make sure your cream, bowl, and beaters are ice-cold. This helps the cream whip up faster and hold its volume.
- Quality Ingredients Matter: Using a good quality peanut butter and chocolate chips makes a noticeable difference in the final flavor.
- Don’t Overmix: When folding the whipped cream into the peanut butter mixture, be gentle. Overmixing can deflate the cream, leading to a denser filling.
- Firm Crust is Key: Press the graham cracker crust firmly into the pan to prevent it from crumbling when you slice the pie.
What’s the secret to a perfectly creamy filling?
The secret lies in two things: using cold heavy whipping cream that’s whipped to stiff peaks, and gently folding it into the peanut butter and powdered sugar mixture. This creates an airy, light texture that’s incredibly creamy and smooth. For more tips on achieving perfect textures, check out our expert author’s guides.
Can I make this no-bake pie ahead of time?
Absolutely! This is one of my favorite things about this recipe. You can make the entire pie up to 24 hours in advance. Just cover it tightly and keep it refrigerated. It sets up even better overnight!
How do I avoid common mistakes with no-bake pies?
The most common mistake is the filling not setting. This usually happens if the whipped cream wasn’t whipped stiff enough or if the pie wasn’t chilled long enough. Ensure your cream is cold and chill for the full 4 hours, or even longer. Contact us if you have further questions.
Best Ways to Serve Bake Chocolate Peanut Butter Pie
Serving this incredible no-bake chocolate peanut butter pie is almost as fun as making it! It’s so rich and satisfying on its own, but I love a few little extras to make it truly special. This chocolate peanut butter dessert pairs wonderfully with simple accompaniments that let the pie shine.
- A Scoop of Vanilla Ice Cream: The cool, creamy vanilla is the perfect counterpoint to the rich chocolate and peanut butter. It’s a classic combo for a reason!
- Fresh Berries: A small handful of fresh raspberries or strawberries adds a bright, slightly tart flavor that cuts through the sweetness beautifully.
- Whipped Cream Dollop: A light swirl of extra whipped cream on top adds an extra touch of elegance and lightness.
Nutrition Facts for Bake Chocolate Peanut Butter Pie
This decadent no-bake chocolate peanut butter pie is a treat for the senses, and here’s a look at its estimated nutritional breakdown per serving. While this recipe is designed for pure indulgence, it’s good to have a general idea of what you’re enjoying. This easy chocolate peanut butter recipe is perfect for special occasions.
- Serving Size: 1 slice
- Calories: 480
- Fat: 30g
- Saturated Fat: 15g
- Protein: 8g
- Carbohydrates: 45g
- Fiber: 3g
- Sugar: 30g
- Sodium: 250mg
Nutritional values are estimates and may vary based on specific ingredients used. For more detailed nutritional information, consult a registered dietitian or a reliable nutrition database like the USDA FoodData Central.
How to Store and Reheat Bake Chocolate Peanut Butter Pie
Once your amazing no-bake chocolate peanut butter pie is ready, you’ll want to keep it fresh to enjoy later. Proper storage is key to maintaining that perfect texture and delicious flavor. This easy chocolate peanut butter recipe keeps well, making it a great make-ahead dessert. Remember to let it cool completely before storing.
- Refrigeration: Store leftover pie covered tightly with plastic wrap or in an airtight container in the refrigerator for up to 3-4 days. This helps keep the filling firm and the topping fresh.
- Freezing: If you need to store it for longer, this chocolate peanut butter dessert freezes beautifully. Wrap individual slices securely in plastic wrap, then in foil, and freeze for up to 3 months.
- Reheating: There’s no real reheating needed for this no-bake pie! If frozen, thaw slices overnight in the refrigerator. If it’s just chilled, you can serve it straight from the fridge. Enjoying it cold is part of its charm!
Frequently Asked Questions About Bake Chocolate Peanut Butter Pie
Can I substitute the graham cracker crust for something else?
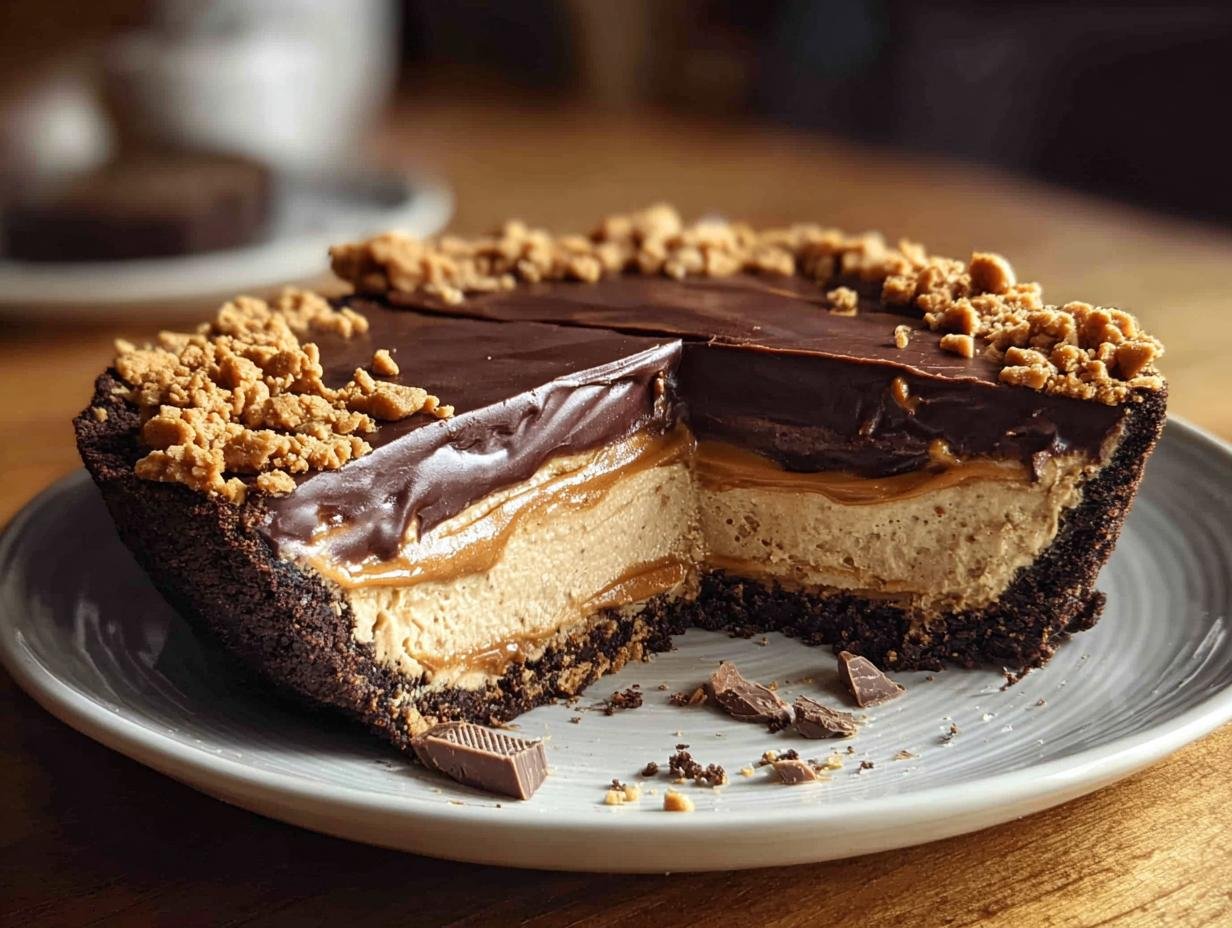
Absolutely! If you’re not a fan of graham crackers or want to try something new, you can easily swap them out. Crushed chocolate cookies, like Oreos, make a fantastic chocolatey crust. For a nuttier flavor, try finely crushed pretzels mixed with a little melted butter. Both are great options for this easy chocolate peanut butter recipe!
My peanut butter filling isn’t setting. What went wrong?
This usually happens if the whipped cream wasn’t whipped to stiff peaks or if the pie wasn’t chilled long enough. Make sure your heavy whipping cream and bowls are very cold before whipping. Then, ensure you fold it in gently and chill the pie for the full 4 hours, or even better, overnight, for a perfectly set bake chocolate peanut butter dessert.
Can I make this pie vegan?
Yes, you can adapt this recipe to be vegan! Use vegan graham crackers or chocolate cookie crumbs and a plant-based butter alternative for the crust. For the filling, use a dairy-free cream cheese mixed with peanut butter and powdered sugar, and top with vegan chocolate chips melted with a splash of plant-based milk. It’s a delicious way to enjoy a bake chocolate peanut butter treat without dairy.
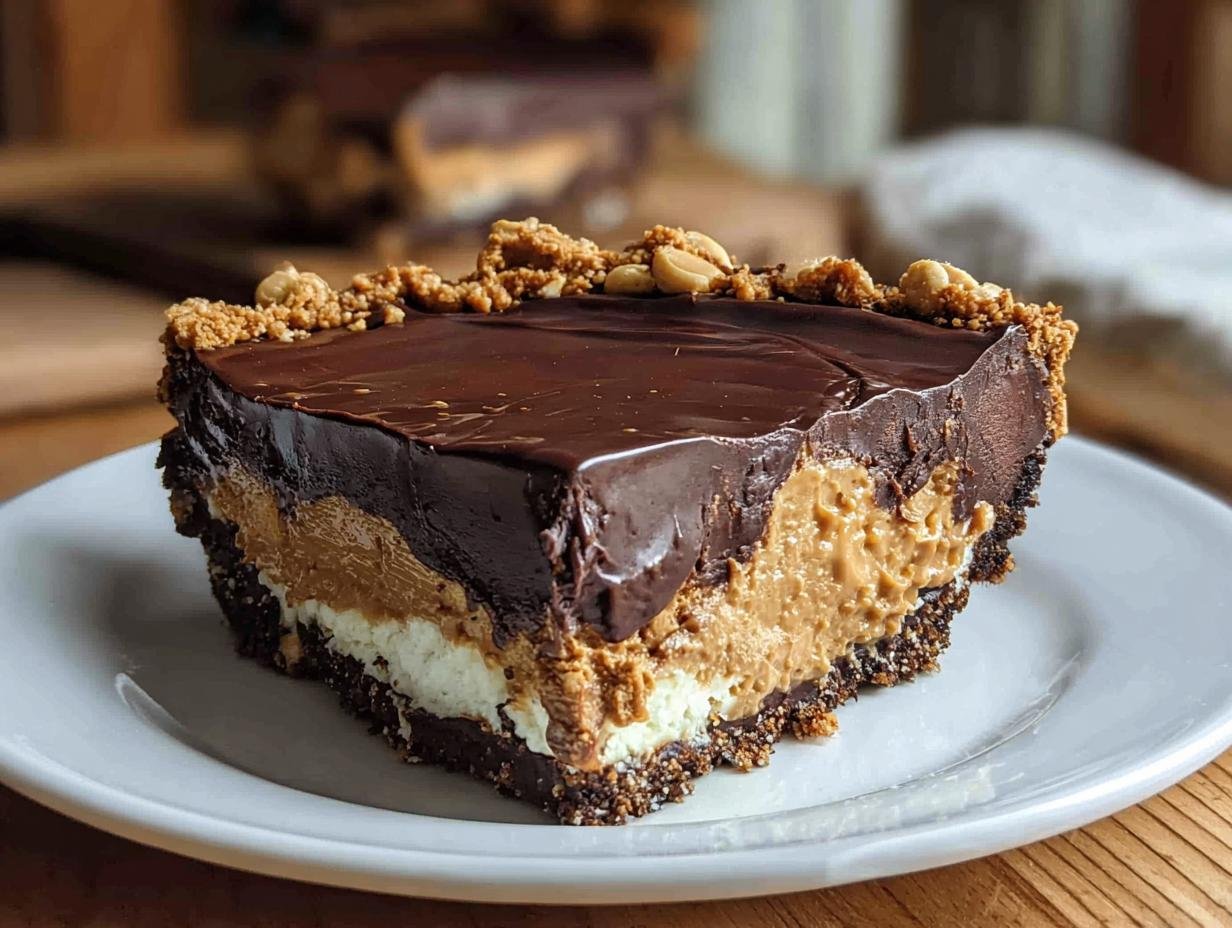
How do I get clean slices of this no-bake pie?
For perfectly clean slices, especially when serving this bake chocolate peanut butter pie, dip a sharp knife into hot water and wipe it dry before each cut. This helps the knife glide smoothly through the chilled filling and chocolate topping, preventing the slices from smearing or breaking apart. Read our privacy policy for more information on data usage.
Variations of No-Bake Chocolate Peanut Butter Desserts You Can Try
If you love the idea of a bake chocolate peanut butter dessert but want to switch things up, you’re in luck! There are so many delicious ways to enjoy this classic flavor combination. These variations offer different textures, dietary options, and even slight cooking method changes, proving how versatile chocolate and peanut butter truly are. Get ready to explore some new favorite ways to bake chocolate peanut butter treats!
- Chocolate Peanut Butter Baked Oatmeal: For a breakfast-friendly option, stir chocolate chips and peanut butter into your favorite oatmeal recipe before baking. It’s a warm, comforting way to start the day.
- Mini Chocolate Peanut Butter Cups: Instead of a pie, press the crust mixture into mini muffin liners and top with the peanut butter filling and chocolate. These individual treats are perfect for parties.
- Gluten-Free Chocolate Peanut Butter Bars: Use gluten-free graham cracker crumbs or almond flour for the crust, and ensure your peanut butter and chocolate are certified gluten-free for a delicious, allergy-friendly bake chocolate peanut butter dessert.
- Chocolate Peanut Butter Baked Bites: Combine oats, peanut butter, chocolate chips, and a binder, then roll into balls and bake until slightly firm. These are great for on-the-go snacks.
Bake Chocolate Peanut Butter: 20-Minute Dream Dessert
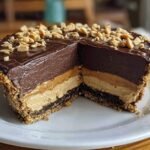
This no-bake chocolate peanut butter pie offers a rich, creamy dessert with a buttery graham cracker crust, smooth peanut butter filling, and a decadent chocolate topping. It’s an easy, budget-friendly, and impressive dessert perfect for any occasion, tasting like a giant peanut butter cup.
- Prep Time: 20 minutes
- Cook Time: 0 minutes
- Total Time: 4 hours 20 minutes
- Yield: 8 slices 1x
- Category: Dessert
- Method: No-Bake
- Cuisine: American
- Diet: Vegetarian
Ingredients
- 1 ½ cups graham cracker crumbs
- ½ cup unsalted butter, melted
- 1 cup creamy peanut butter
- 1 cup powdered sugar
- 1 cup heavy whipping cream
- 1 cup chocolate chips
- 2 tbsp milk
Instructions
- In a bowl, mix graham cracker crumbs and melted butter until combined. Press the crumb mixture into a pie pan to form the crust.
- In another bowl, combine peanut butter and powdered sugar until smooth.
- In a separate bowl, whip the heavy cream until stiff peaks form.
- Fold the whipped cream into the peanut butter mixture until light and fluffy.
- Spread the peanut butter filling evenly into the prepared crust.
- Melt chocolate chips with milk until smooth and pour over the filling.
- Chill in the refrigerator for at least 4 hours before serving.
Notes
- Chill the crust for 10-15 minutes before adding the filling.
- Use cold cream and mixing bowls for best whipping results.
- Gently fold whipped cream into the peanut butter mixture to keep it airy.
- Dip knife in hot water before cutting for clean slices.
- Top with garnishes just before serving.
- For a lighter option, substitute Greek yogurt for part of the cream.
- Swap graham crackers for Oreo crumbs for extra chocolate flavor.
- Chill overnight for the best texture.
Nutrition
- Serving Size: 1 slice
- Calories: 480
- Sugar: N/A
- Sodium: N/A
- Fat: N/A
- Saturated Fat: N/A
- Unsaturated Fat: N/A
- Trans Fat: N/A
- Carbohydrates: N/A
- Fiber: N/A
- Protein: N/A
- Cholesterol: N/A


Leave a Reply