
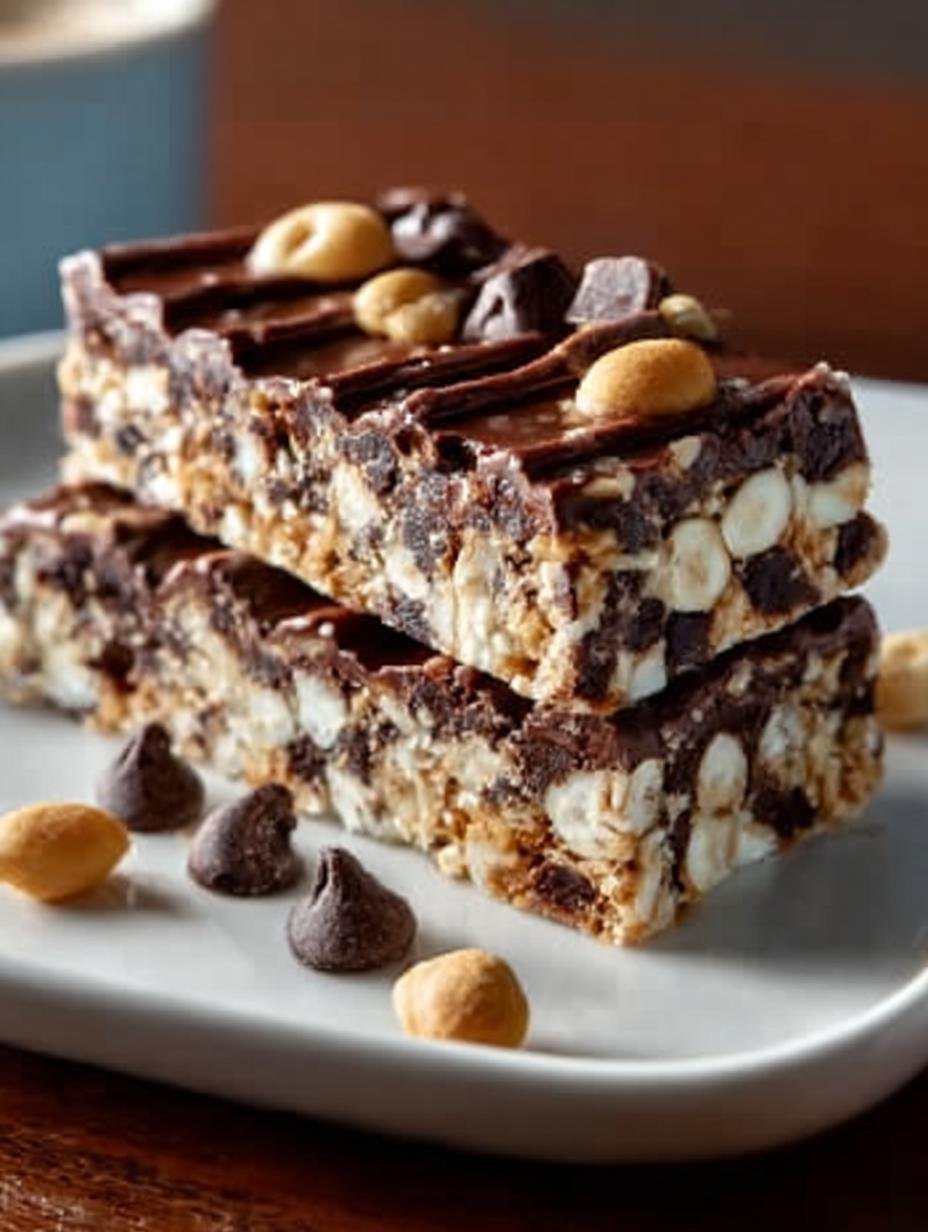
Chocolate Protein Bars are a game-changer for anyone seeking a quick, nutritious snack. These 10-Minute Chocolate Protein Bars are the perfect snack for lasting energy. Packed with protein and rich chocolaty flavor, they’re quick to make and will satisfy your sweet tooth without the guilt. With just a few simple ingredients, you can whip up a batch that will keep you energized throughout your day. Let’s dive into this delicious recipe!
Why You’ll Love This Chocolate Protein Bars
There are countless reasons to love these Chocolate Protein Bars. First, they are incredibly easy to make, requiring only 10 minutes of prep time. Second, they are full of protein, making them an ideal option for muscle gain and recovery. These bars are also a fantastic choice for anyone seeking low-sugar chocolate protein bars, with just 5 grams of sugar per bar. If you’re looking for healthy chocolate protein bars, this recipe uses wholesome ingredients that you can easily customize. Plus, they are perfect for meal prep, so you can have a nutritious snack ready to go at any time. Finally, they cater to various diets, including vegan and gluten-free options, ensuring everyone can enjoy them!
Ingredients for Chocolate Protein Bars
Gather these items:
- 1 cup rolled oats
- 1 scoop chocolate protein powder (or flavor of your choice)
- 1/2 cup peanut butter (smooth or crunchy)
- 2 tablespoons honey or maple syrup
- 1/4 cup milk (dairy or plant-based)
- 1 tablespoon cocoa powder (unsweetened)
- 1 teaspoon vanilla extract
- A pinch of salt
- Optional add-ins: chocolate chips, dried fruit, seeds, or nuts
How to Make Chocolate Protein Bars Step-by-Step
- Step 1: Measure out the oats, protein powder, peanut butter, honey, cocoa powder, and milk. If using any optional add-ins, prepare them as well.
- Step 2: In a large mixing bowl, combine the oats, protein powder, cocoa powder, salt, and any add-ins. Stir until evenly mixed. Add the peanut butter, honey, milk, and vanilla extract, and mix everything until fully combined.
- Step 3: Line a small baking dish or tray with parchment paper. Transfer the mixture into the dish and press it down firmly into an even layer.
- Step 4: Place the pan in the fridge for at least 30 minutes to set. This helps the bars firm up and makes slicing easier.
- Step 5: Once set, slice the mixture into bars and enjoy. Store them in an airtight container for up to a week.
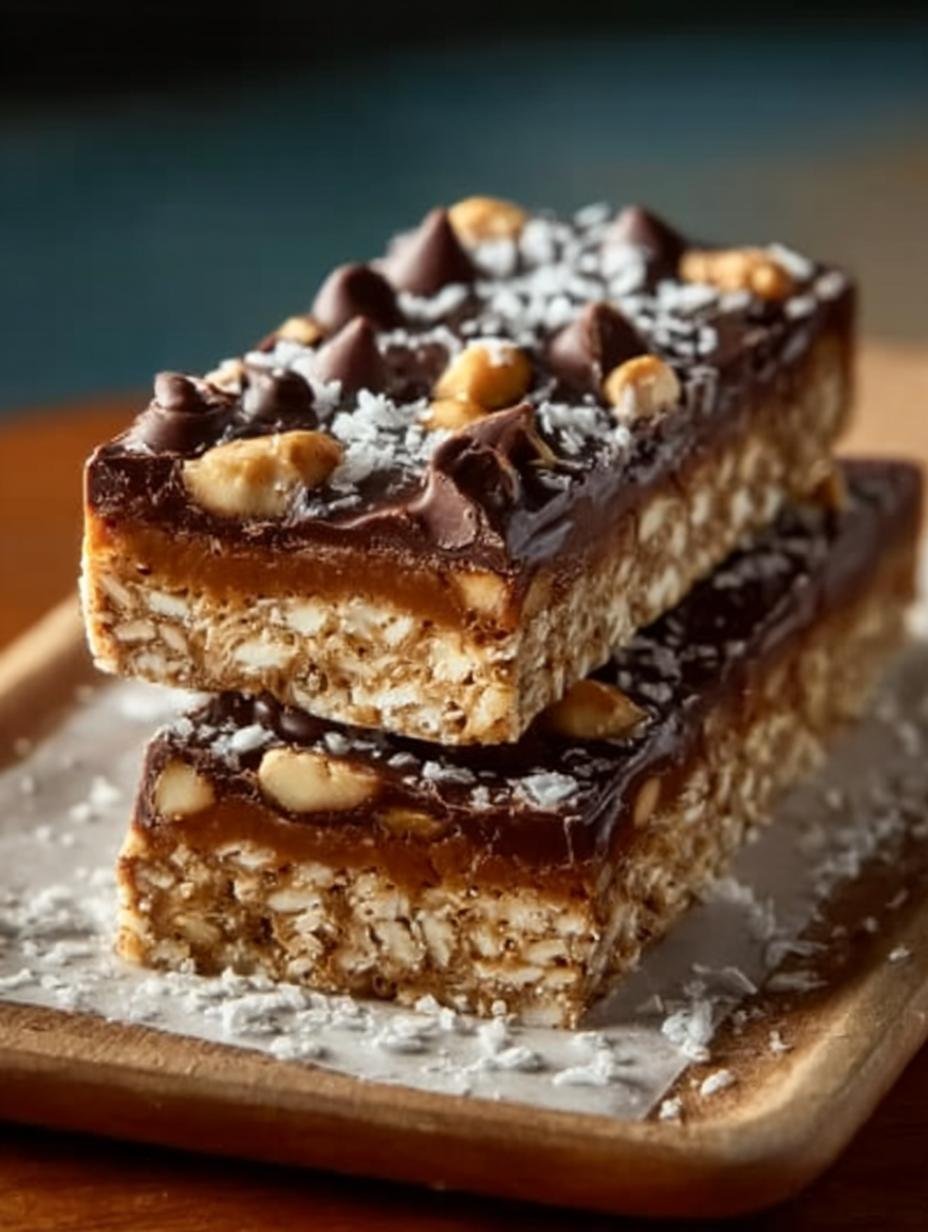
Pro Tips for the Best Chocolate Protein Bars
Keep these in mind:
- These bars can be customized with your favorite add-ins.
- Store in a cool place or refrigerate for longer freshness.
- Try adding nuts for extra crunch and nutrition.
- For a vegan option, substitute honey with maple syrup and use plant-based protein powder.
Best Ways to Serve Chocolate Protein Bars
These delicious chocolate protein bars can be served in various ways to enhance your snacking experience:
- Pair with a cup of coffee for a mid-morning pick-me-up.
- Top with fresh fruits like banana or berries for added flavor and nutrients.
- Enjoy them as an after-workout snack to replenish energy and protein levels.
How to Store and Reheat Chocolate Protein Bars
To maintain the freshness of your chocolate protein bars, store them in an airtight container at room temperature for up to a week. For longer storage, refrigerate them, which can help preserve their taste and texture. If you prefer them warm, simply microwave for a few seconds before serving. This is a great option if you enjoy a softer texture!
Frequently Asked Questions About Chocolate Protein Bars
What’s the secret to perfect Chocolate Protein Bars?
The key to perfect homemade chocolate protein bar recipes is the right balance of wet and dry ingredients. Ensure that your mixture is not too dry, or it won’t hold together. Conversely, too much liquid can make them mushy. Adjust as needed based on your preferences!
Can I make Chocolate Protein Bars ahead of time?
Absolutely! These healthy chocolate protein bars are perfect for meal prepping. You can make a batch ahead of time and store them in the fridge for quick access throughout the week. They make for a nutritious on-the-go snack!
How do I avoid common mistakes with Chocolate Protein Bars?
To avoid common pitfalls, ensure you measure your ingredients accurately. Don’t skip the refrigeration step, as it helps the bars to firm up. Finally, feel free to experiment with different add-ins like seeds or nuts for variety!
Variations of Chocolate Protein Bars You Can Try
If you’re looking to mix things up, here are a few variations you might enjoy:
- Replace peanut butter with almond butter for a different flavor.
- Use different protein powder flavors, like vanilla or strawberry, for a unique twist.
- Add spices like cinnamon or nutmeg for extra warmth and depth of flavor.
- Make them gluten-free by using gluten-free oats and protein powder.
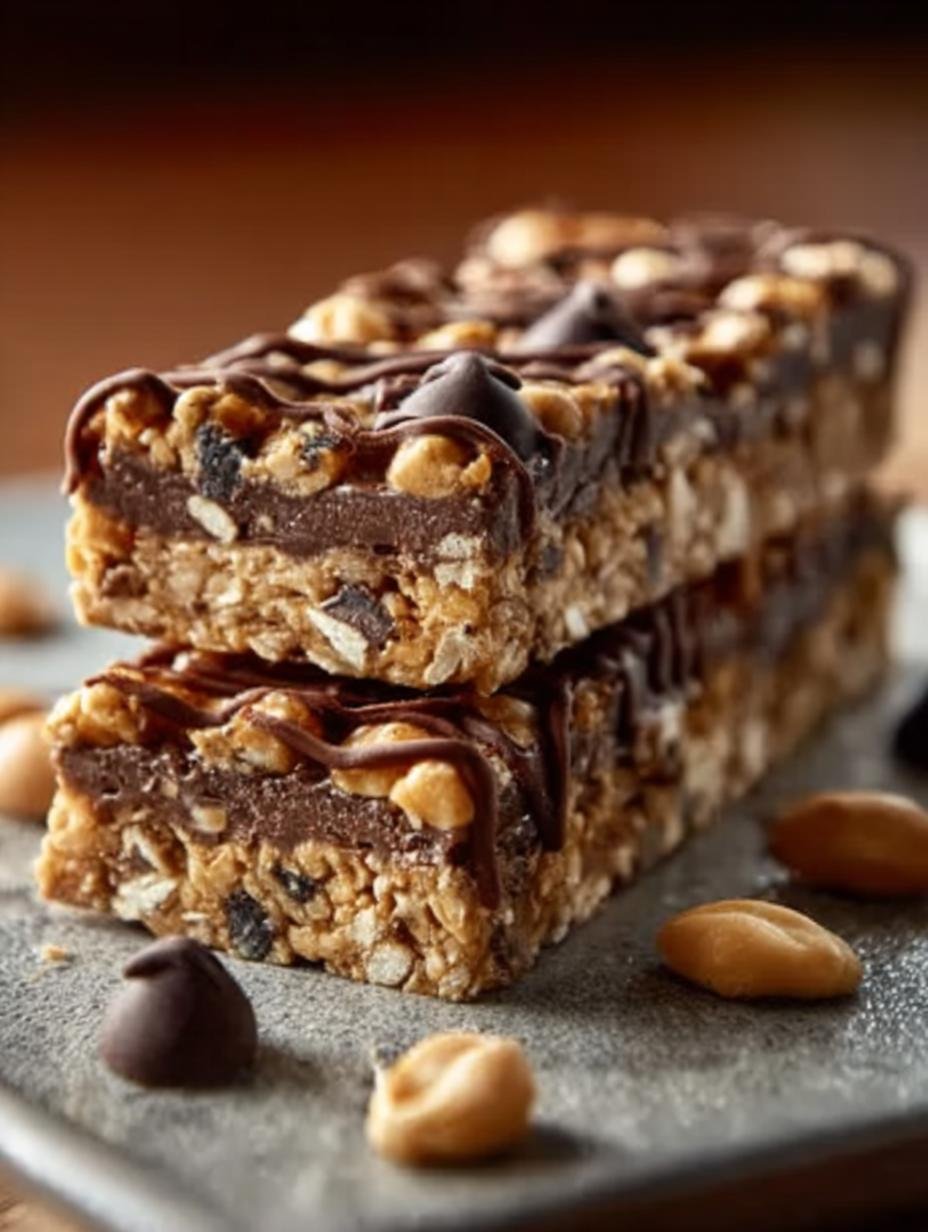
With these tips and tricks, your Chocolate Protein Bars will not only be delicious but also a crucial part of your healthy snacking routine. Enjoy the balance of flavor and nutrition!
For more information about healthy eating, check out this article on protein bars. If you’re interested in meal prepping, visit this meal prep guide. For tips on healthy snacks, see this resource on healthy snacks.
For more about me, visit About Me. If you have any questions, feel free to Contact Us. For privacy information, check our Privacy Policy. You can also read our Disclaimer. Lastly, learn more about the author here.
Print10-Minute Chocolate Protein Bars for Lasting Energy
These 10-Minute Chocolate Protein Bars are the perfect snack for lasting energy. Packed with protein and rich chocolaty flavor, they’re quick to make and will satisfy your sweet tooth without the guilt.
- Prep Time: 10 minutes
- Cook Time: 0 minutes
- Total Time: 40 minutes
- Yield: 12 bars 1x
- Category: Snack
- Method: No-bake
- Cuisine: American
- Diet: Vegetarian
Ingredients
- 1 cup rolled oats
- 1 scoop chocolate protein powder (or flavor of your choice)
- 1/2 cup peanut butter (smooth or crunchy)
- 2 tablespoons honey or maple syrup
- 1/4 cup milk (dairy or plant-based)
- 1 tablespoon cocoa powder (unsweetened)
- 1 teaspoon vanilla extract
- A pinch of salt
- Optional add-ins: chocolate chips, dried fruit, seeds, or nuts
Instructions
- Measure out the oats, protein powder, peanut butter, honey, cocoa powder, and milk. If using any optional add-ins, prepare them as well.
- In a large mixing bowl, combine the oats, protein powder, cocoa powder, salt, and any add-ins. Stir until evenly mixed. Add the peanut butter, honey, milk, and vanilla extract, and mix everything until fully combined.
- Line a small baking dish or tray with parchment paper. Transfer the mixture into the dish and press it down firmly into an even layer.
- Place the pan in the fridge for at least 30 minutes to set. This helps the bars firm up and makes slicing easier.
- Once set, slice the mixture into bars and enjoy. Store them in an airtight container for up to a week.
Notes
- These bars can be customized with your favorite add-ins.
- Store in a cool place or refrigerate for longer freshness.
Nutrition
- Serving Size: 1 bar
- Calories: 180
- Sugar: 5g
- Sodium: 100mg
- Fat: 9g
- Saturated Fat: 2g
- Unsaturated Fat: 6g
- Trans Fat: 0g
- Carbohydrates: 20g
- Fiber: 3g
- Protein: 10g
- Cholesterol: 0mg








Leave a Reply